April will be challenging

In more ways than one!

I’ve joined THREE challenges for April, because I must be crazy, and will keep public updates here. One is a sewing challenge, and two are fitness challenges.

ONE – The sewing challenge, basically, is 8 garments that go together as a spring wardrobe, to be completed by the end of May. It technically started February 1, but I just found out about it and joined on Friday night. Given my typical slow pace, this will definitely be challenging! I hope to have a good chunk done by the end of April though, as I could use the pieces for upcoming weekend in Chicago, followed by work trip to Oakland.

Sewalong info 

Lots of pulling out patterns and fabrics and swapping back and forth on Saturday, with a few texts to my sister for good measure, and I’ve finalized the patterns and the fabrics (and hello! since I was downstairs working on my pants anyway – which will be piece #1 – I kept the washer busy, and the fabric for the entire challenge is ready for use. Whew!).

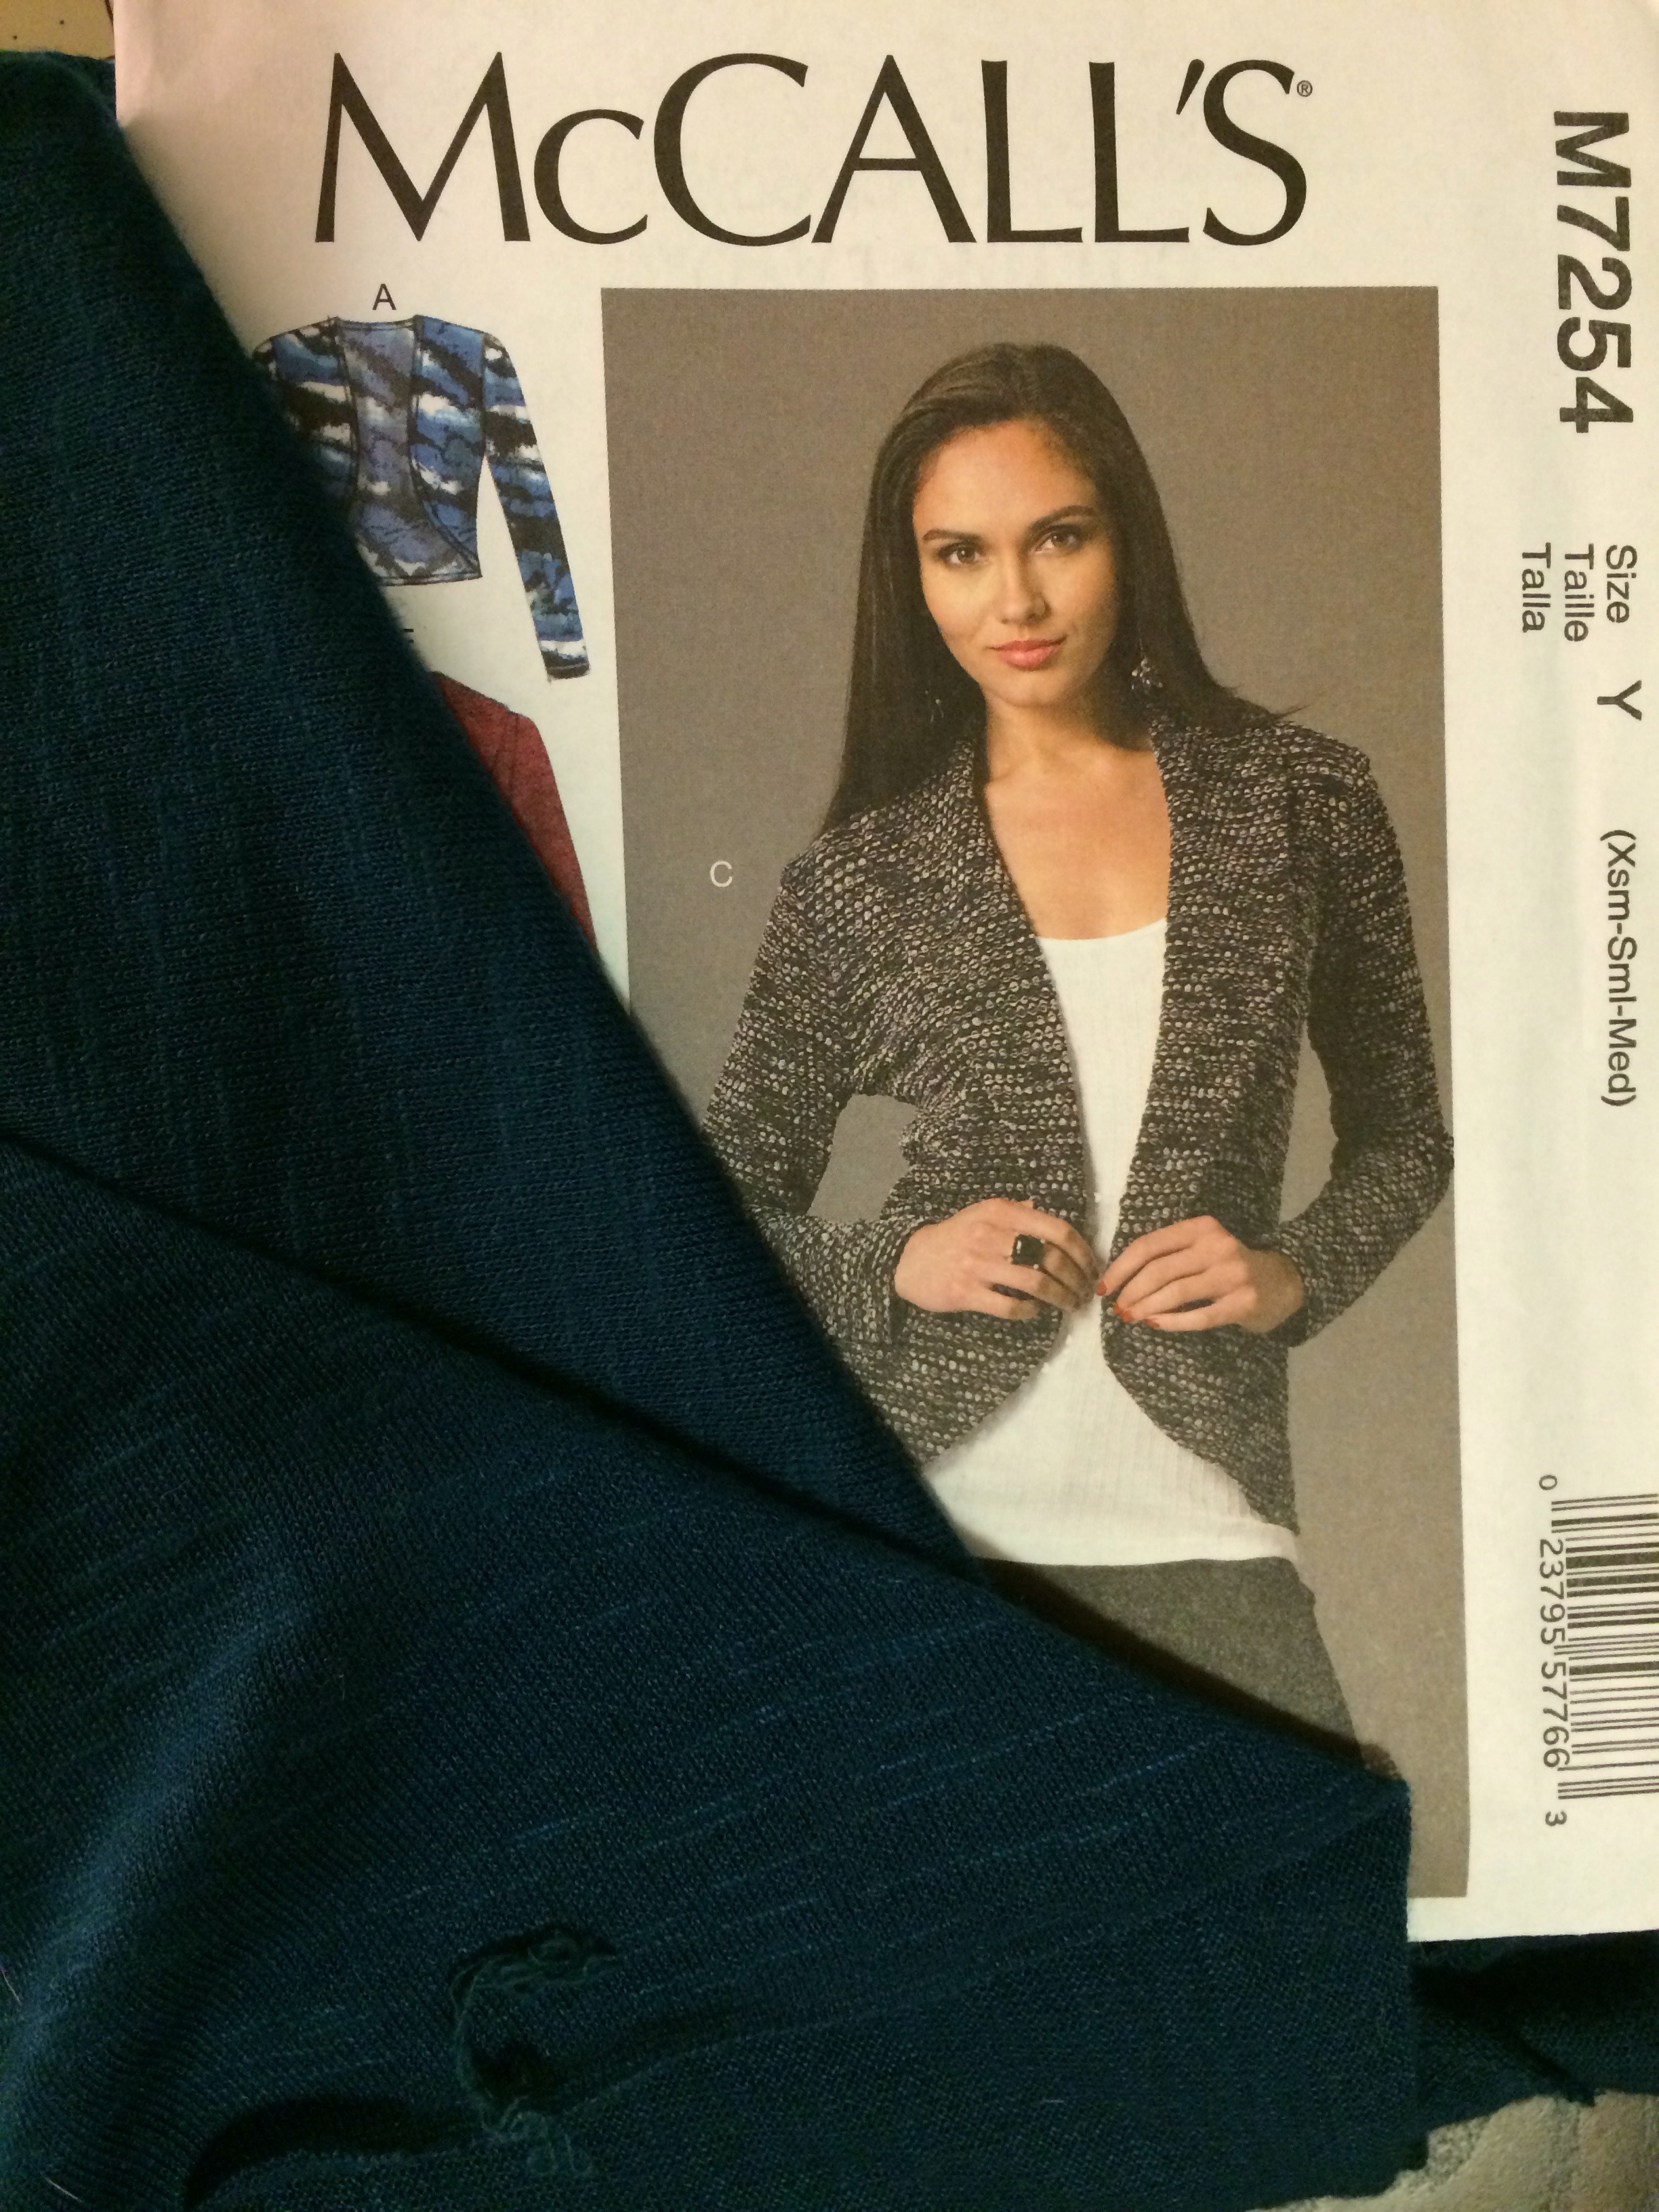
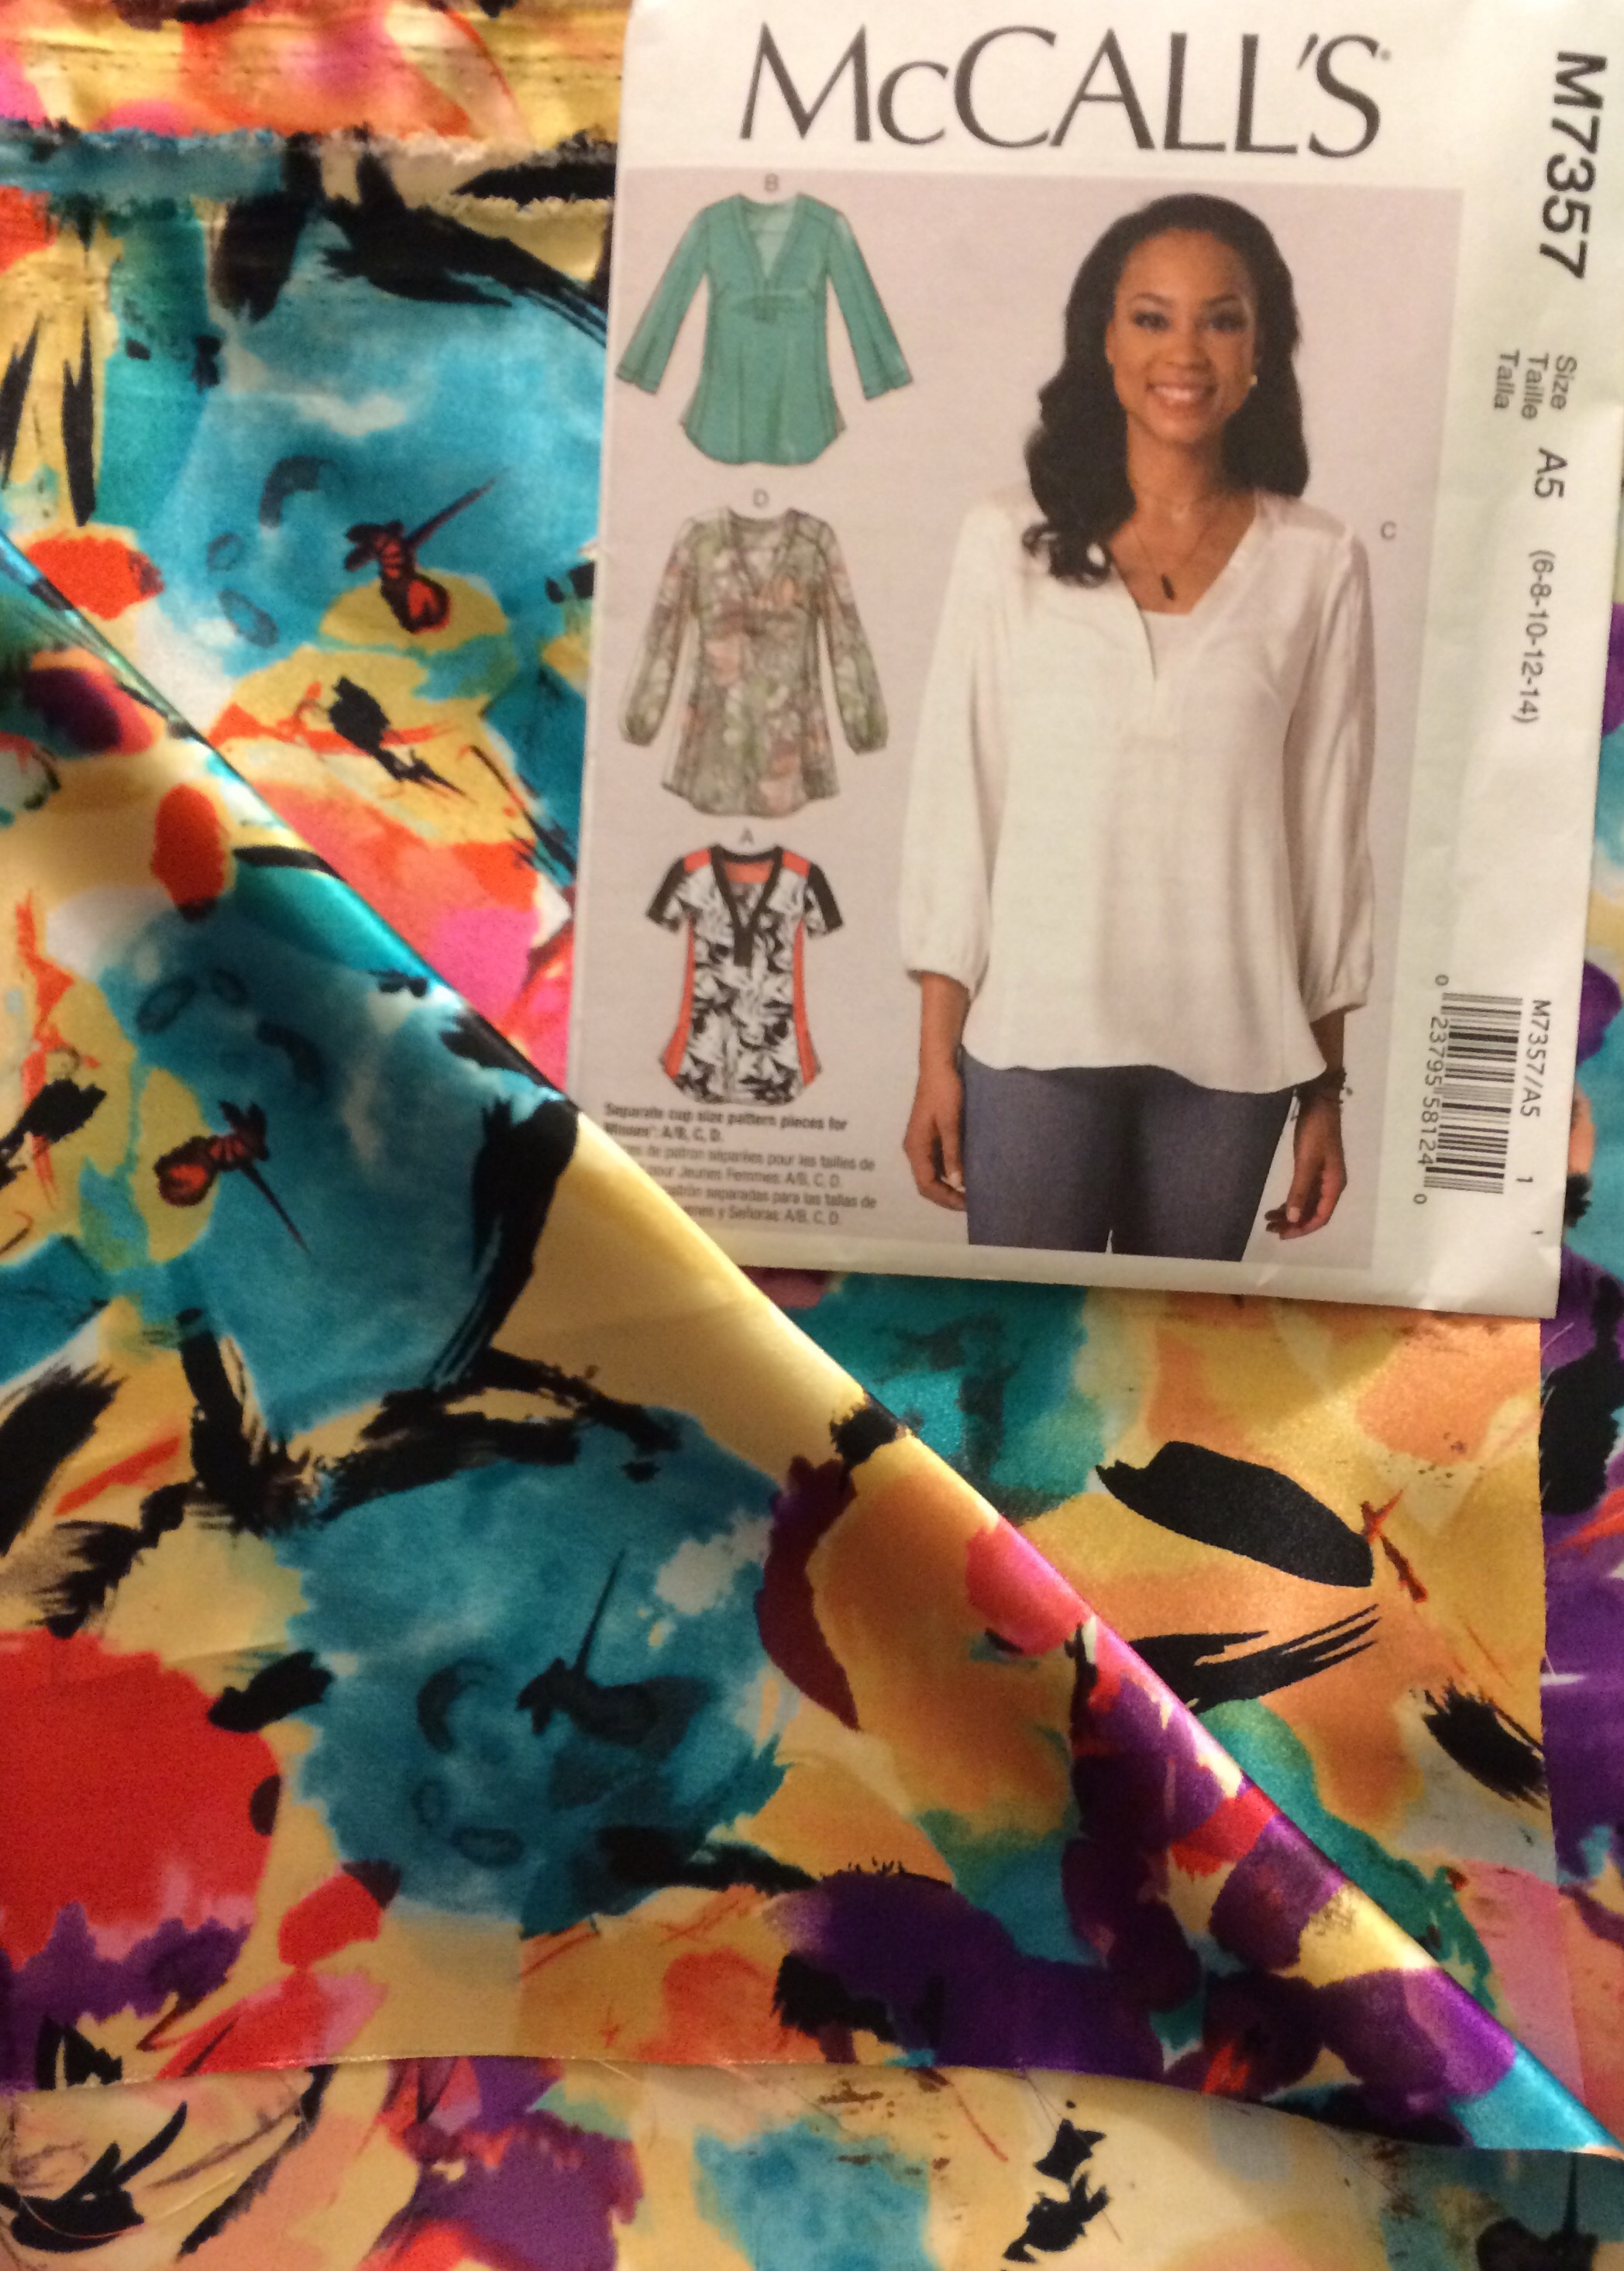
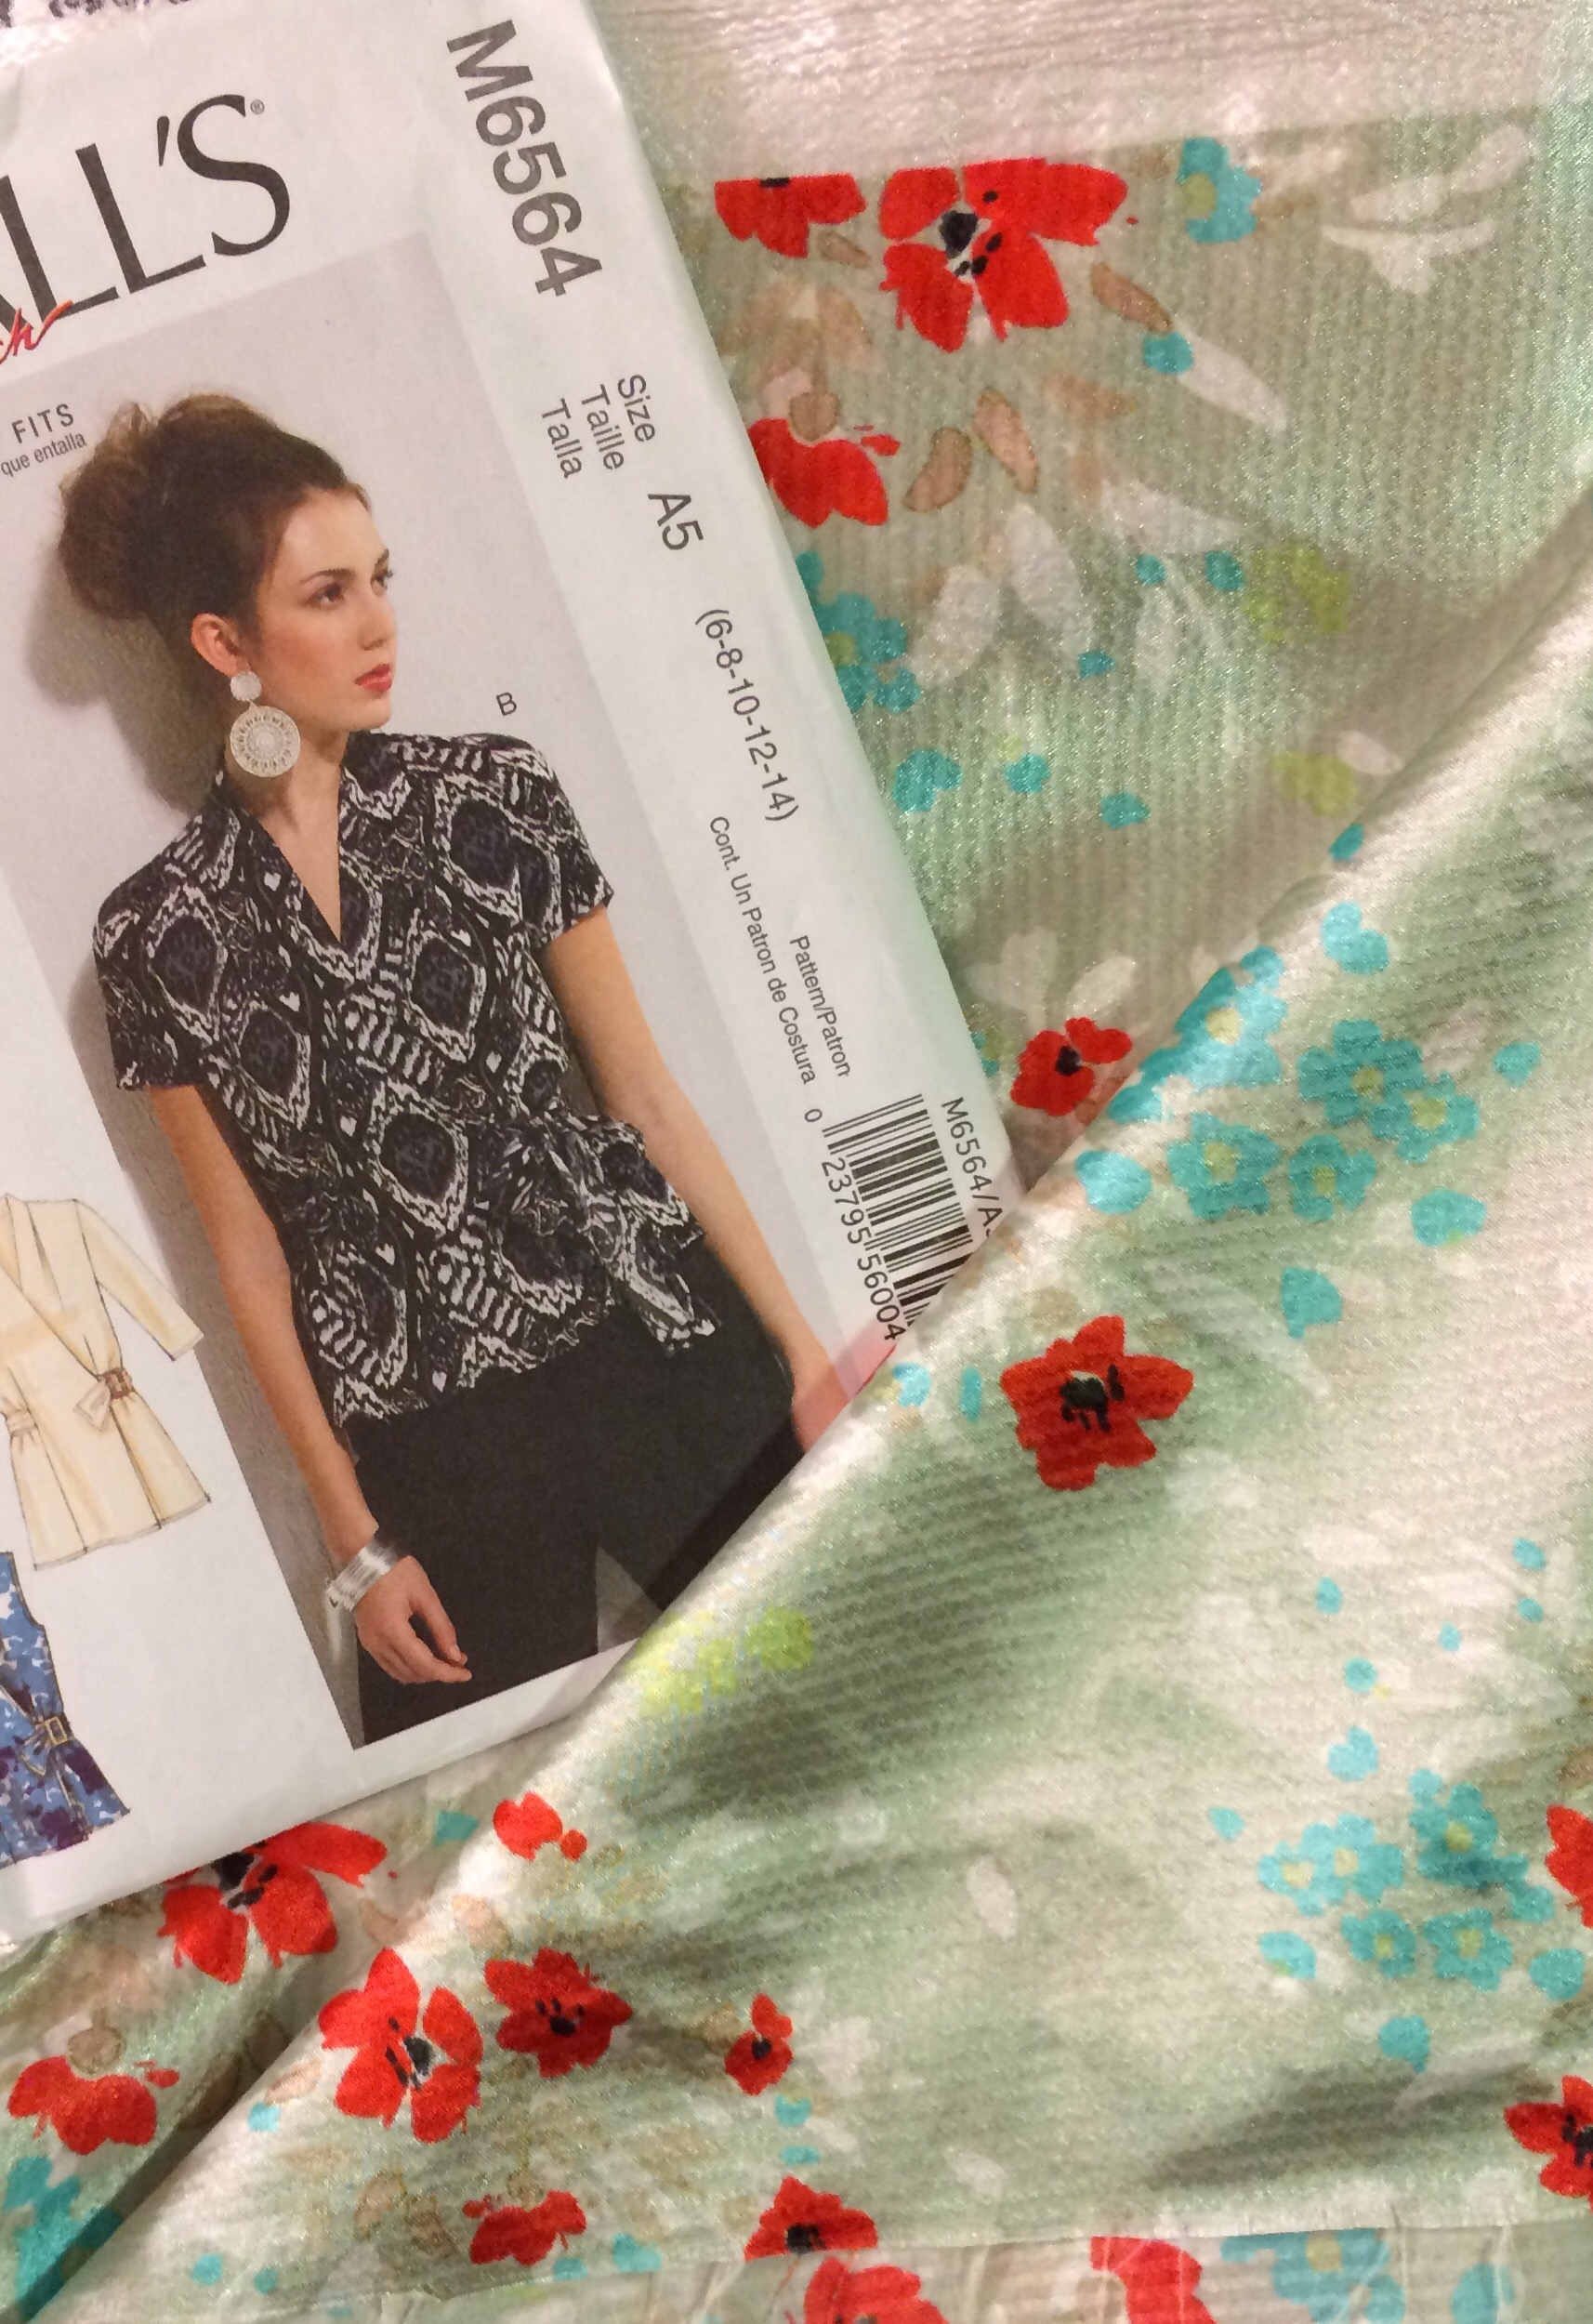
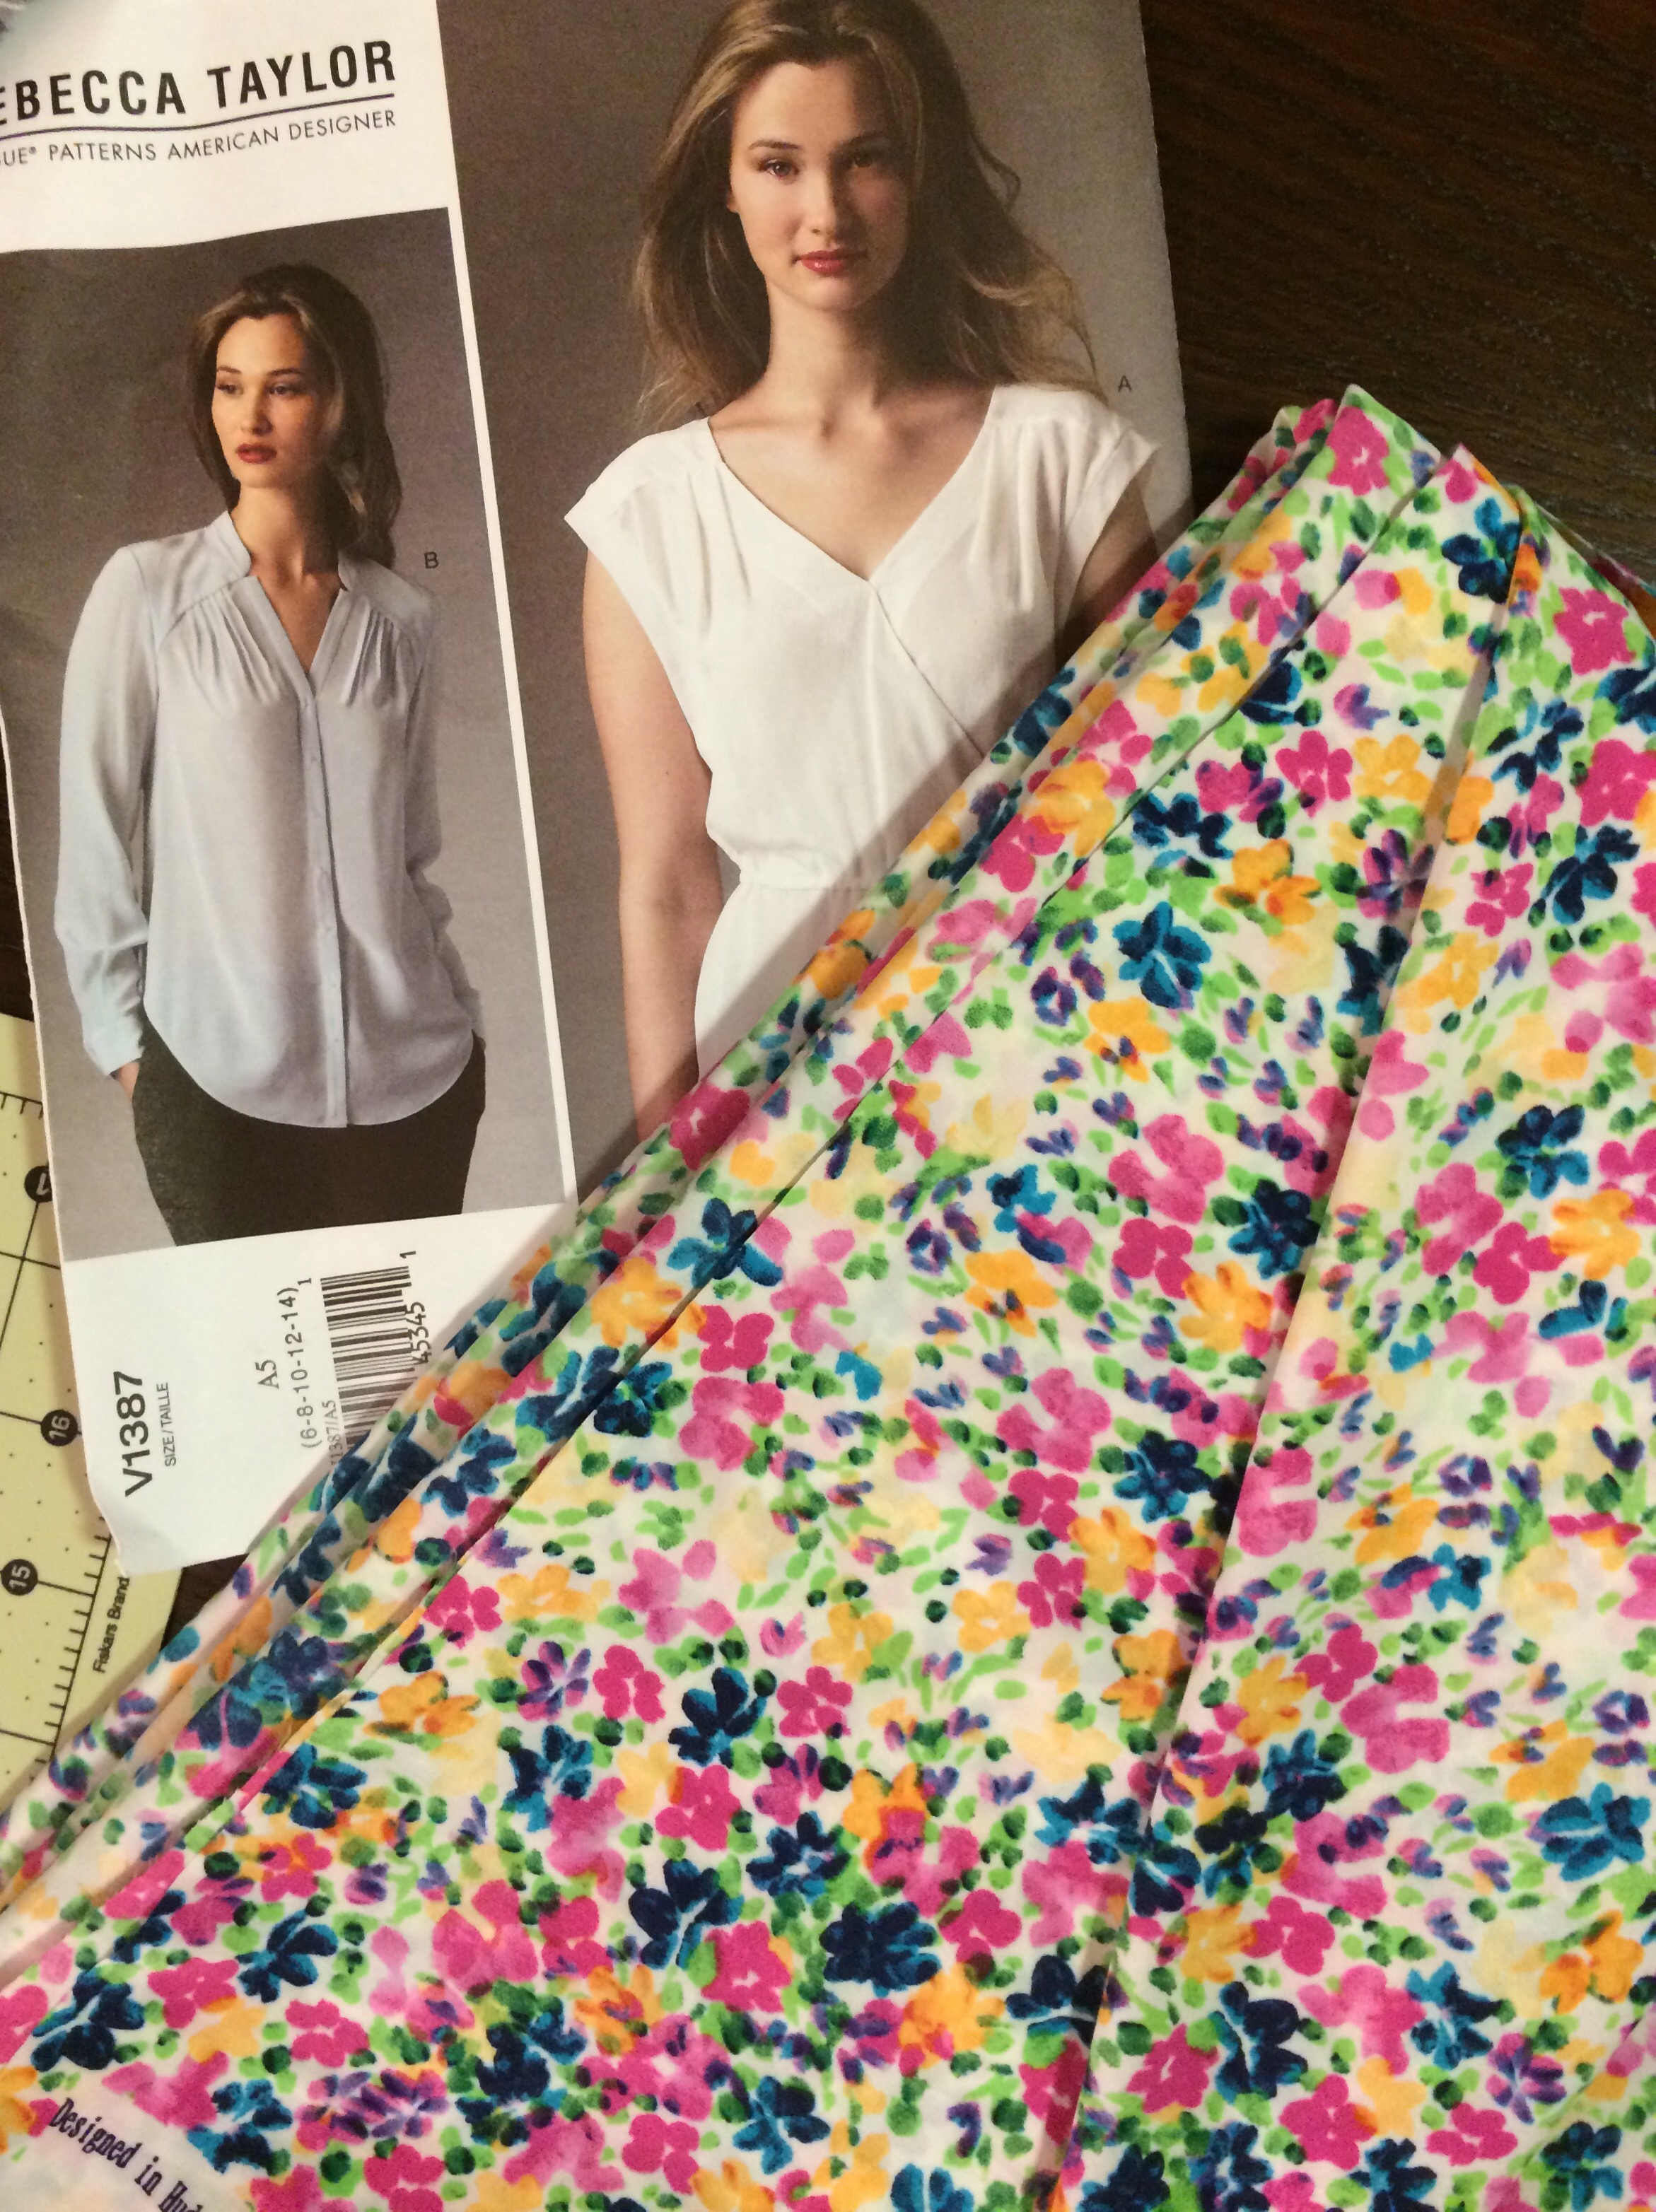
 So I’ve chosen two pair of pants, one cardigan, four tops, and a dress. There’s another item I may possibly get to work into this challenge, which would delight me to no end, but it may be less than realistic. If it comes to pass, I’ll post it as a surprise bonus later.

most of the fabrics


Vogue 8717, the second round, that I’m currently working on

Style Arc Cassie pant – wish me luck here!


McCall’s 7254 that another reviewer mentioned went together nicely


McCall’s 7357 – I could use more tops in this shape


McCall’s 6564 – I’ll do a view with the belt buckle


Vogue 1387 – not sure which view I’ll but sis is voting for the white! 🙂


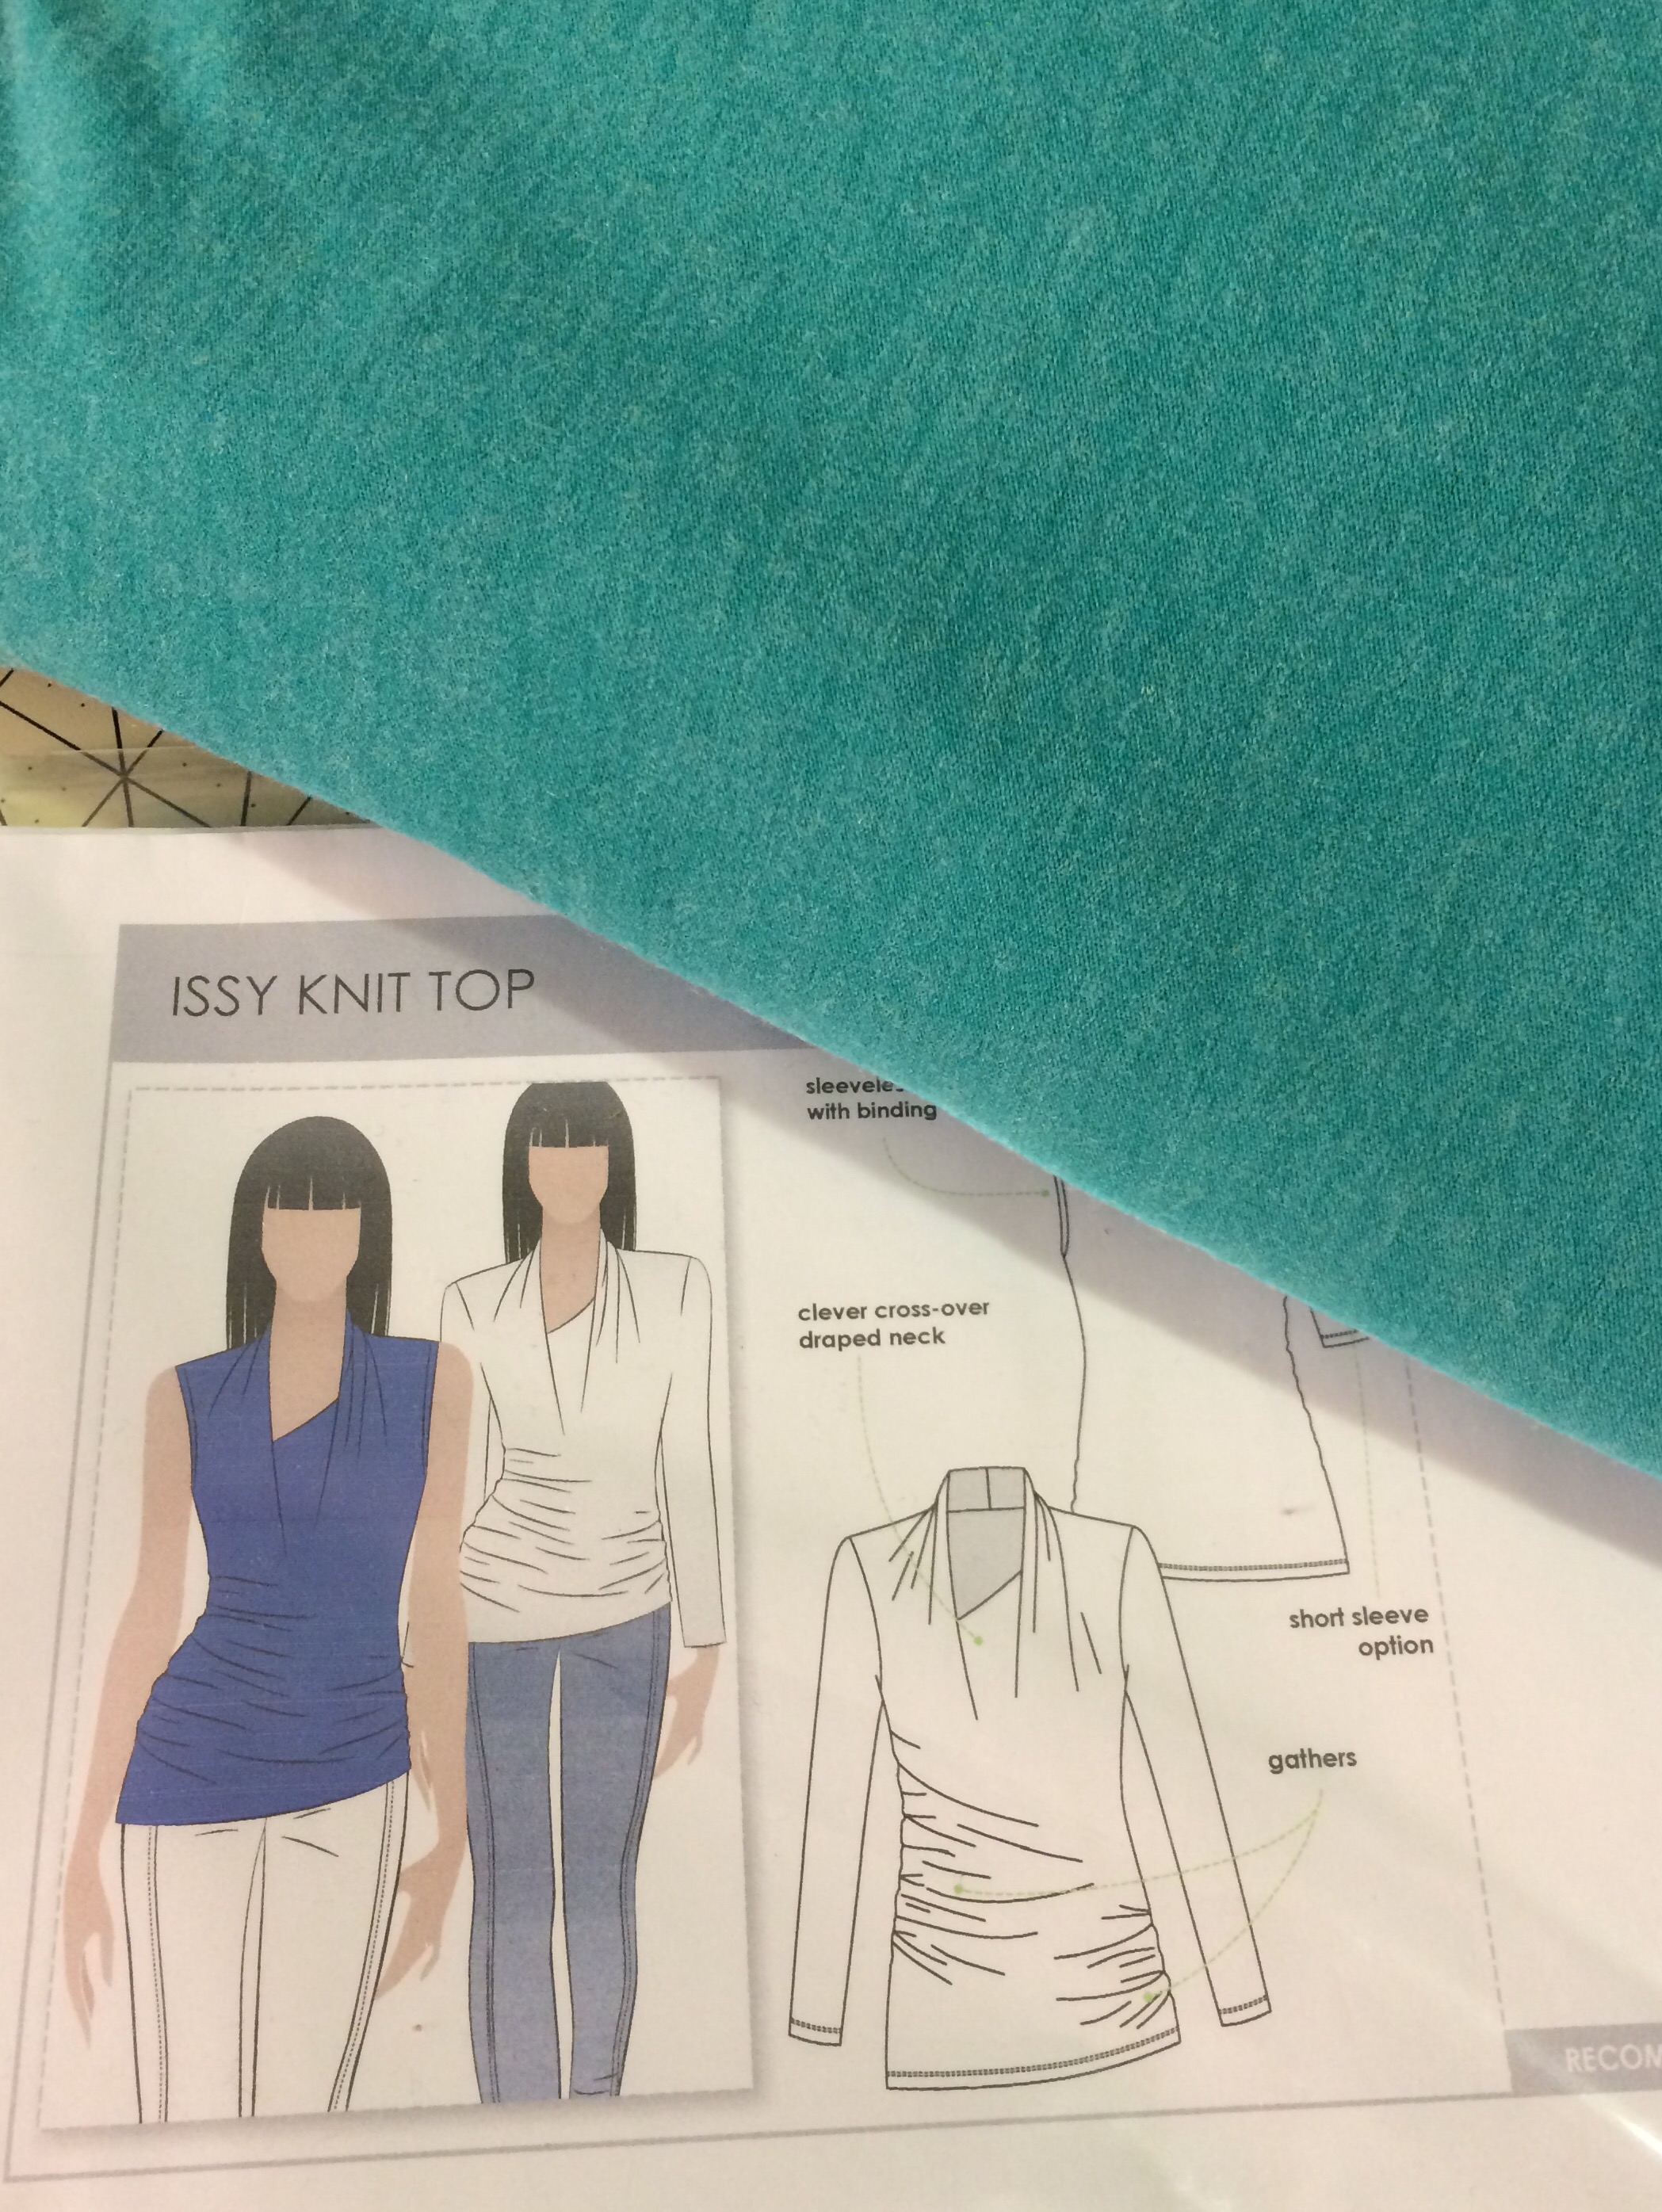
Style Arc Issy which I hope comes out as cool as it looks in the line drawing


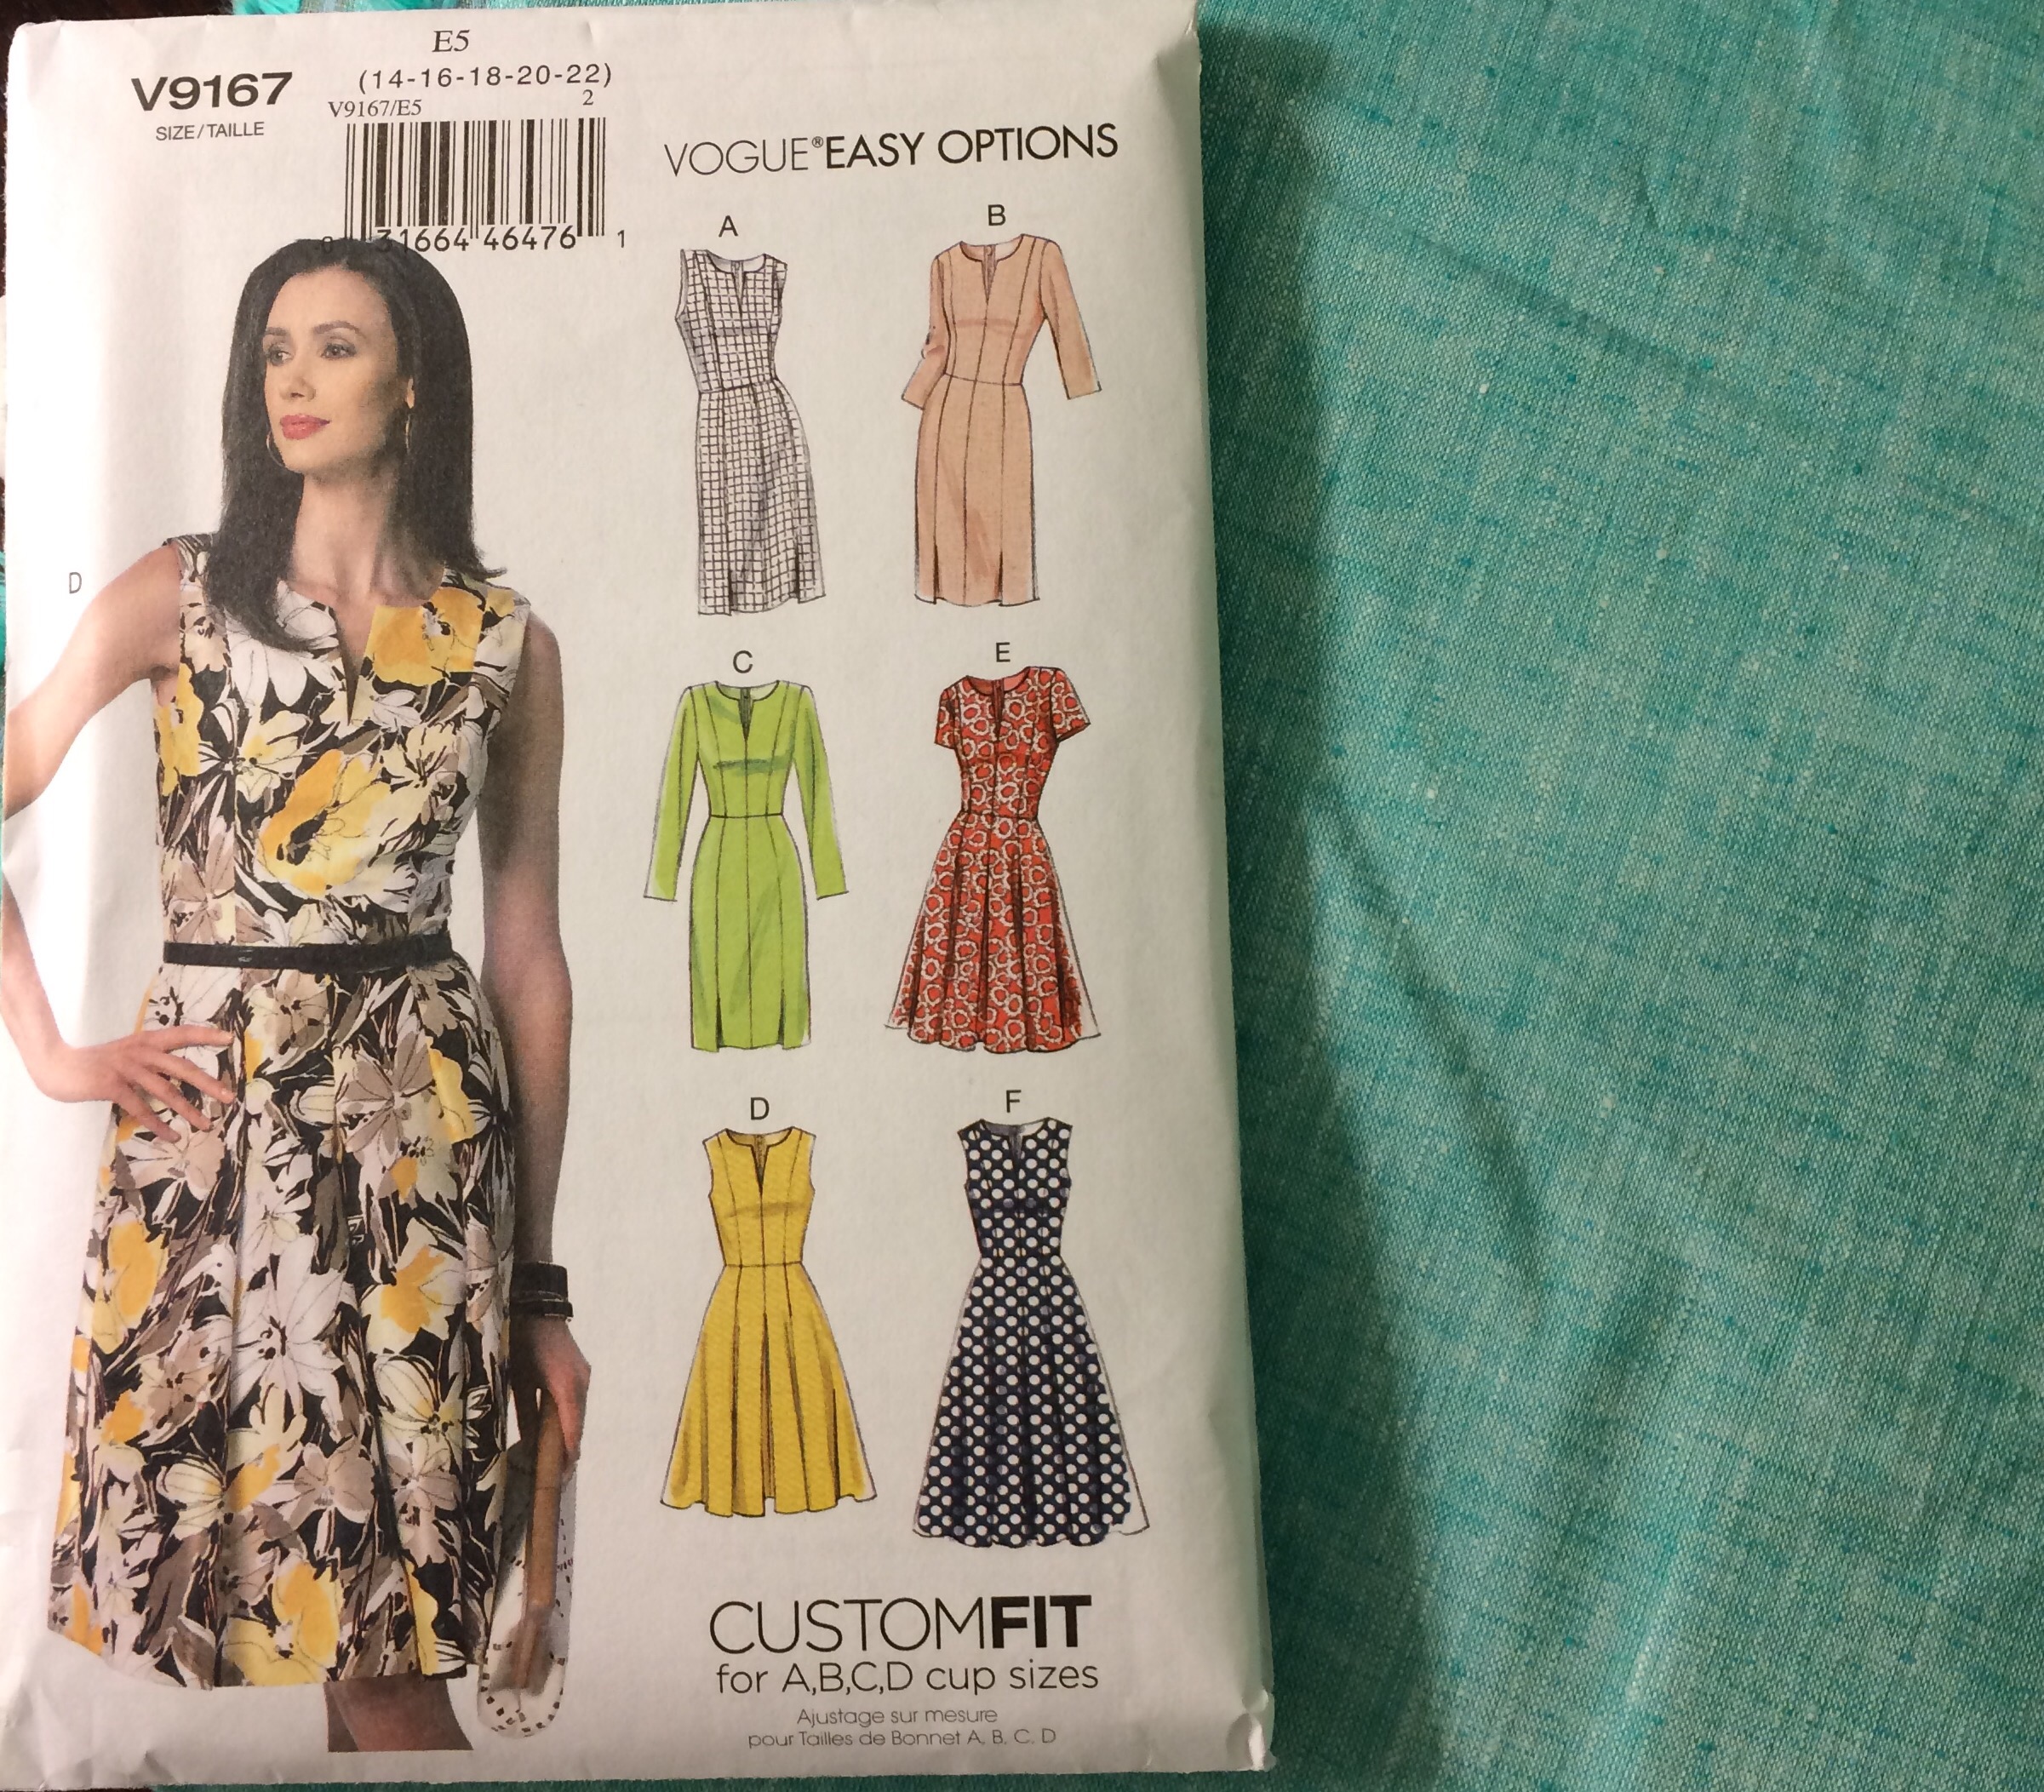
Vogue 9167, which I think the cross-dyed linen will be perfect for!

 
TWO – So apparently that won’t keep me busy enough, that I had to join some other challenges too. With a colleague and my sister, we’re each doing 1000 body weight squats for the month. That averages to about 34 each day if I do some every day – so if you see me just stop randomly and do 8 or 10 or more… I’m stockpiling! 🙂

THREE – My sister also sent me a jump rope challenge that starts April 6. It specifies all levels, so hopefully I gain some jump rope skills out of it. I can go pretty well if I do this weird one-footed rocking/hopping/whatever jump that I did as a kid, but if I try to jump two-footed, properly, I usually trip over the rope after about three jumps. But this old dog is determined not to be too old to learn new tricks. Join me?!

V8717 pants, round two

For this pair, I was influenced by the fact that I have a purchased pair of grey pants that are in desperate need of replacing. 

I randomly visited G Street Fabrics over the weekend, and rummaged (as neatly as I could) through their $2.97/yard table. You can find some really great fabrics inexpensively, if it’s your lucky day – and it was! A lovely dense stretch poly viscose (even with a content & care label), in a versatile neutral charcoal. Perfect for pants that will see a lot of use, and there was enough for two pair, or pants and something else. 

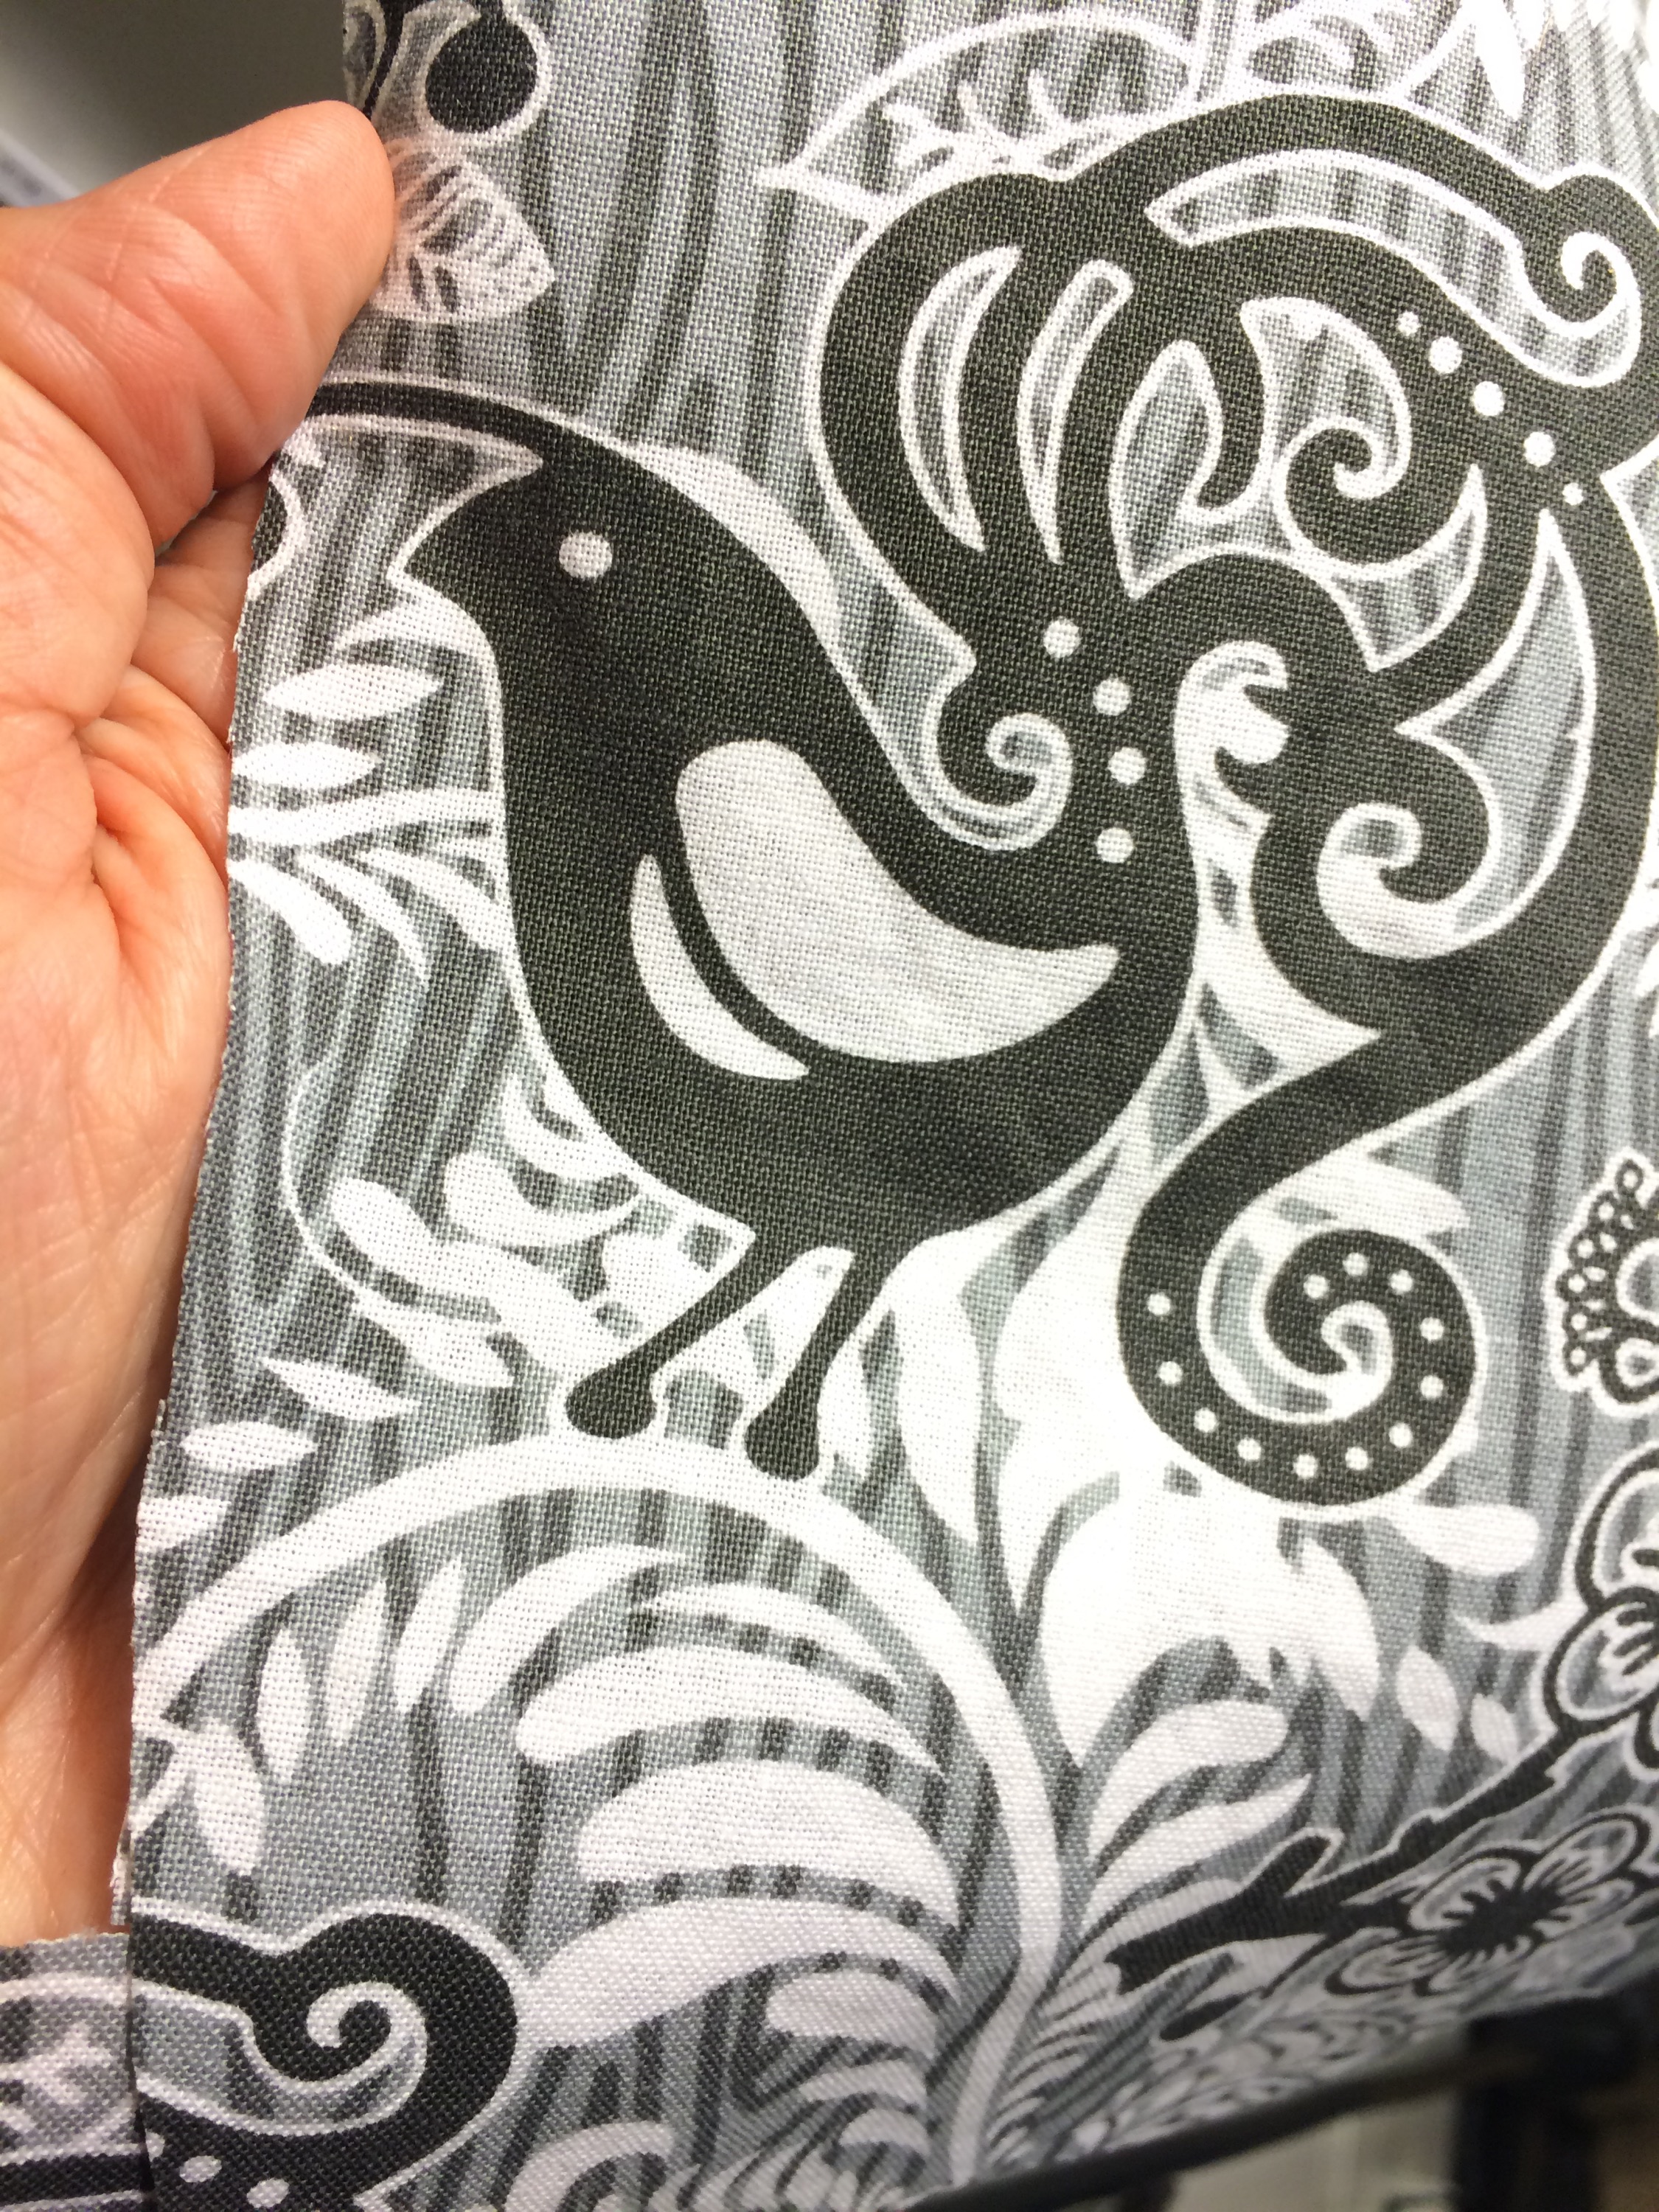
For now, I’m just making the pants. As before, I’ve got a birdie quilting cotton for the pockets and facings:  

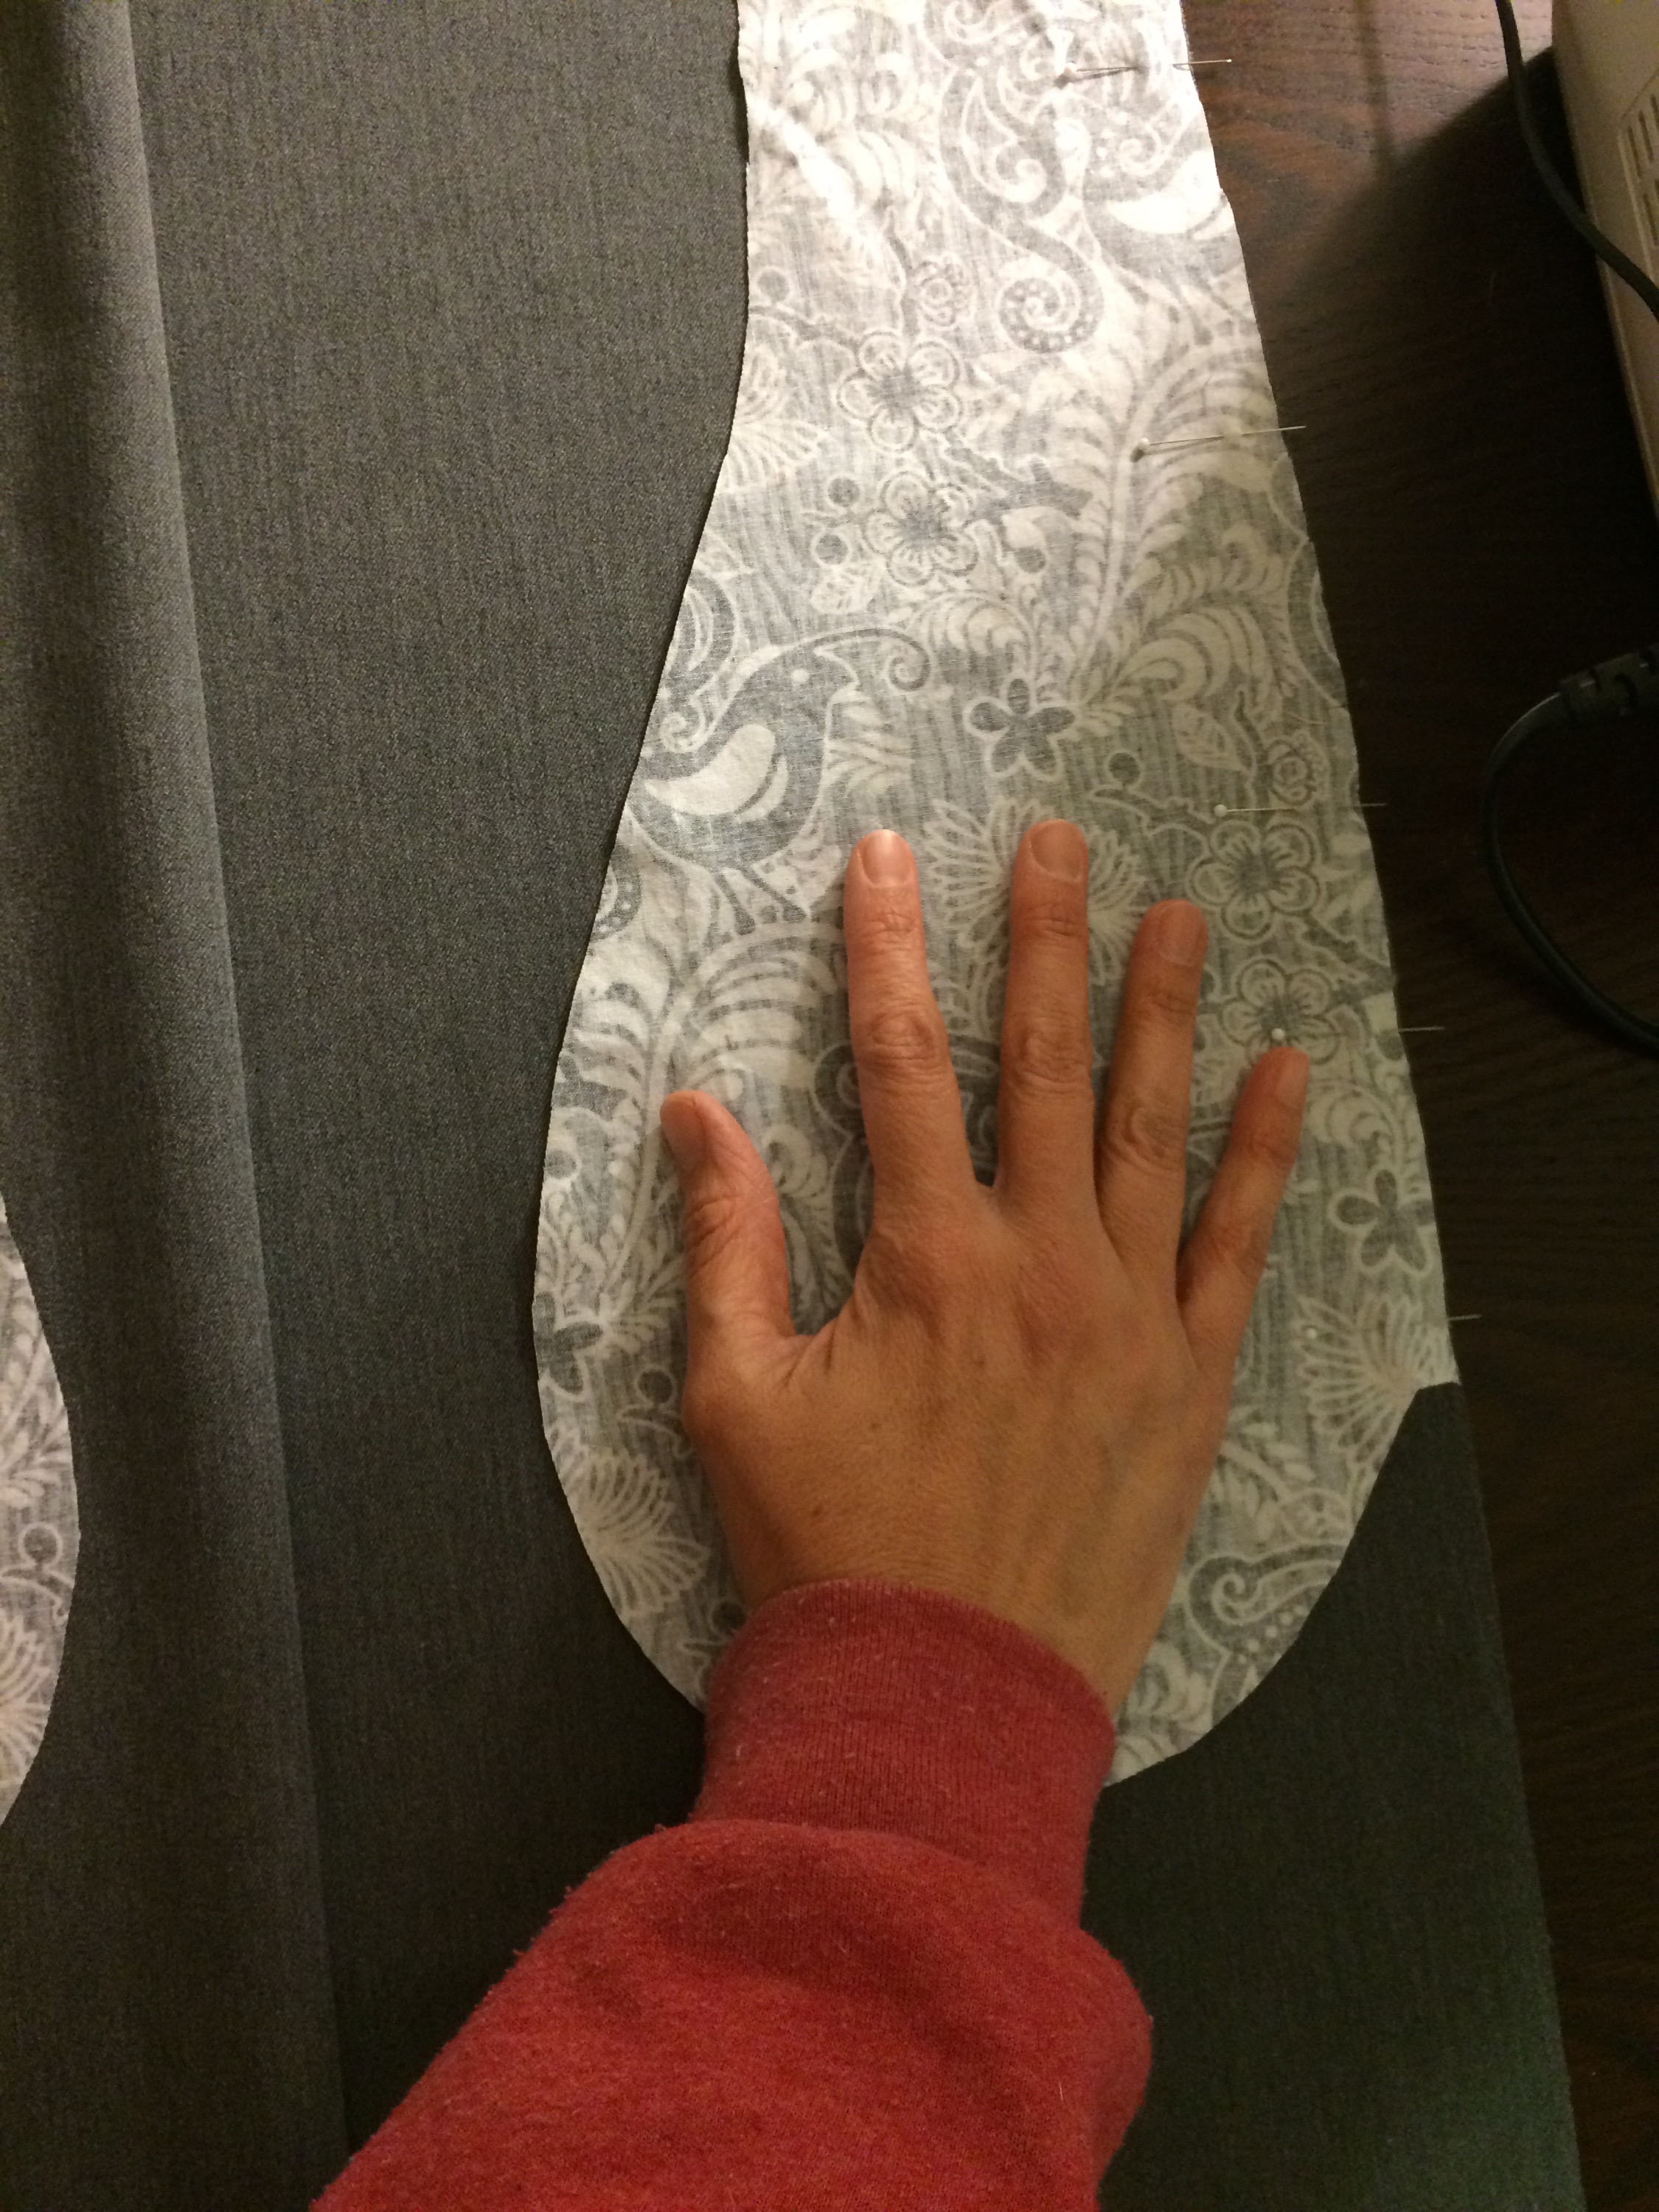
Remember the pockets? Check these hugely awesome things out: 

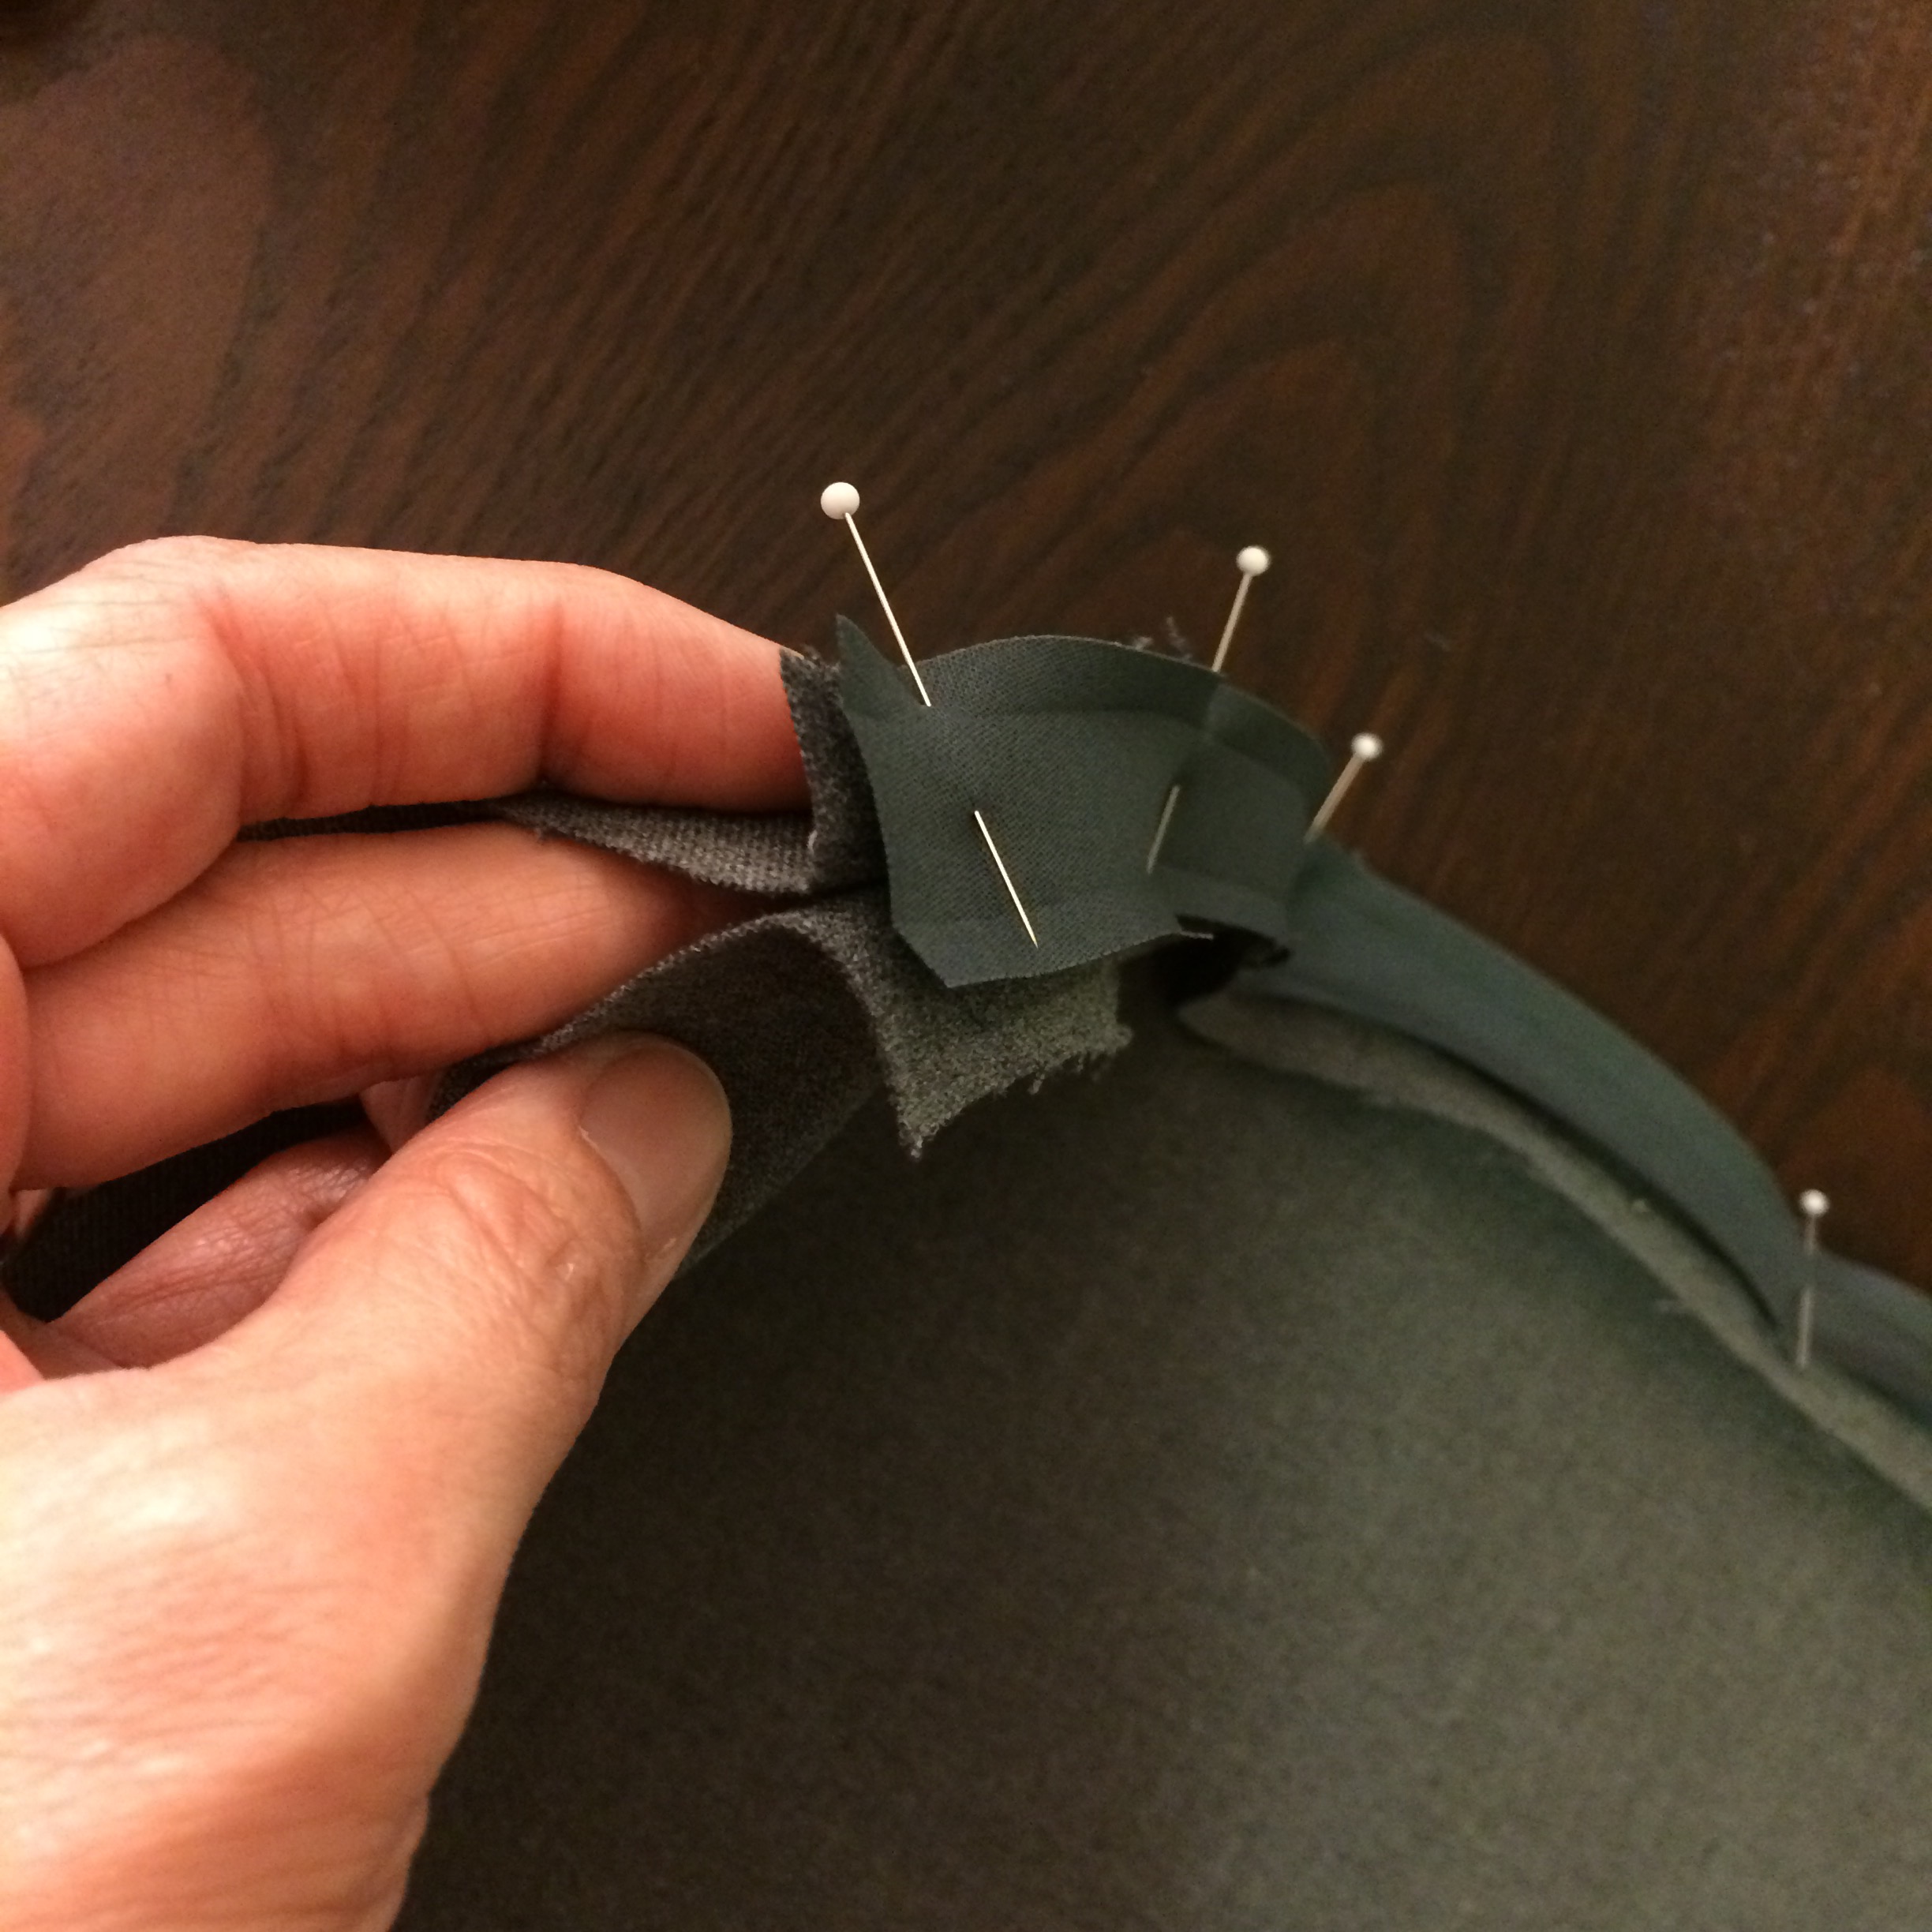
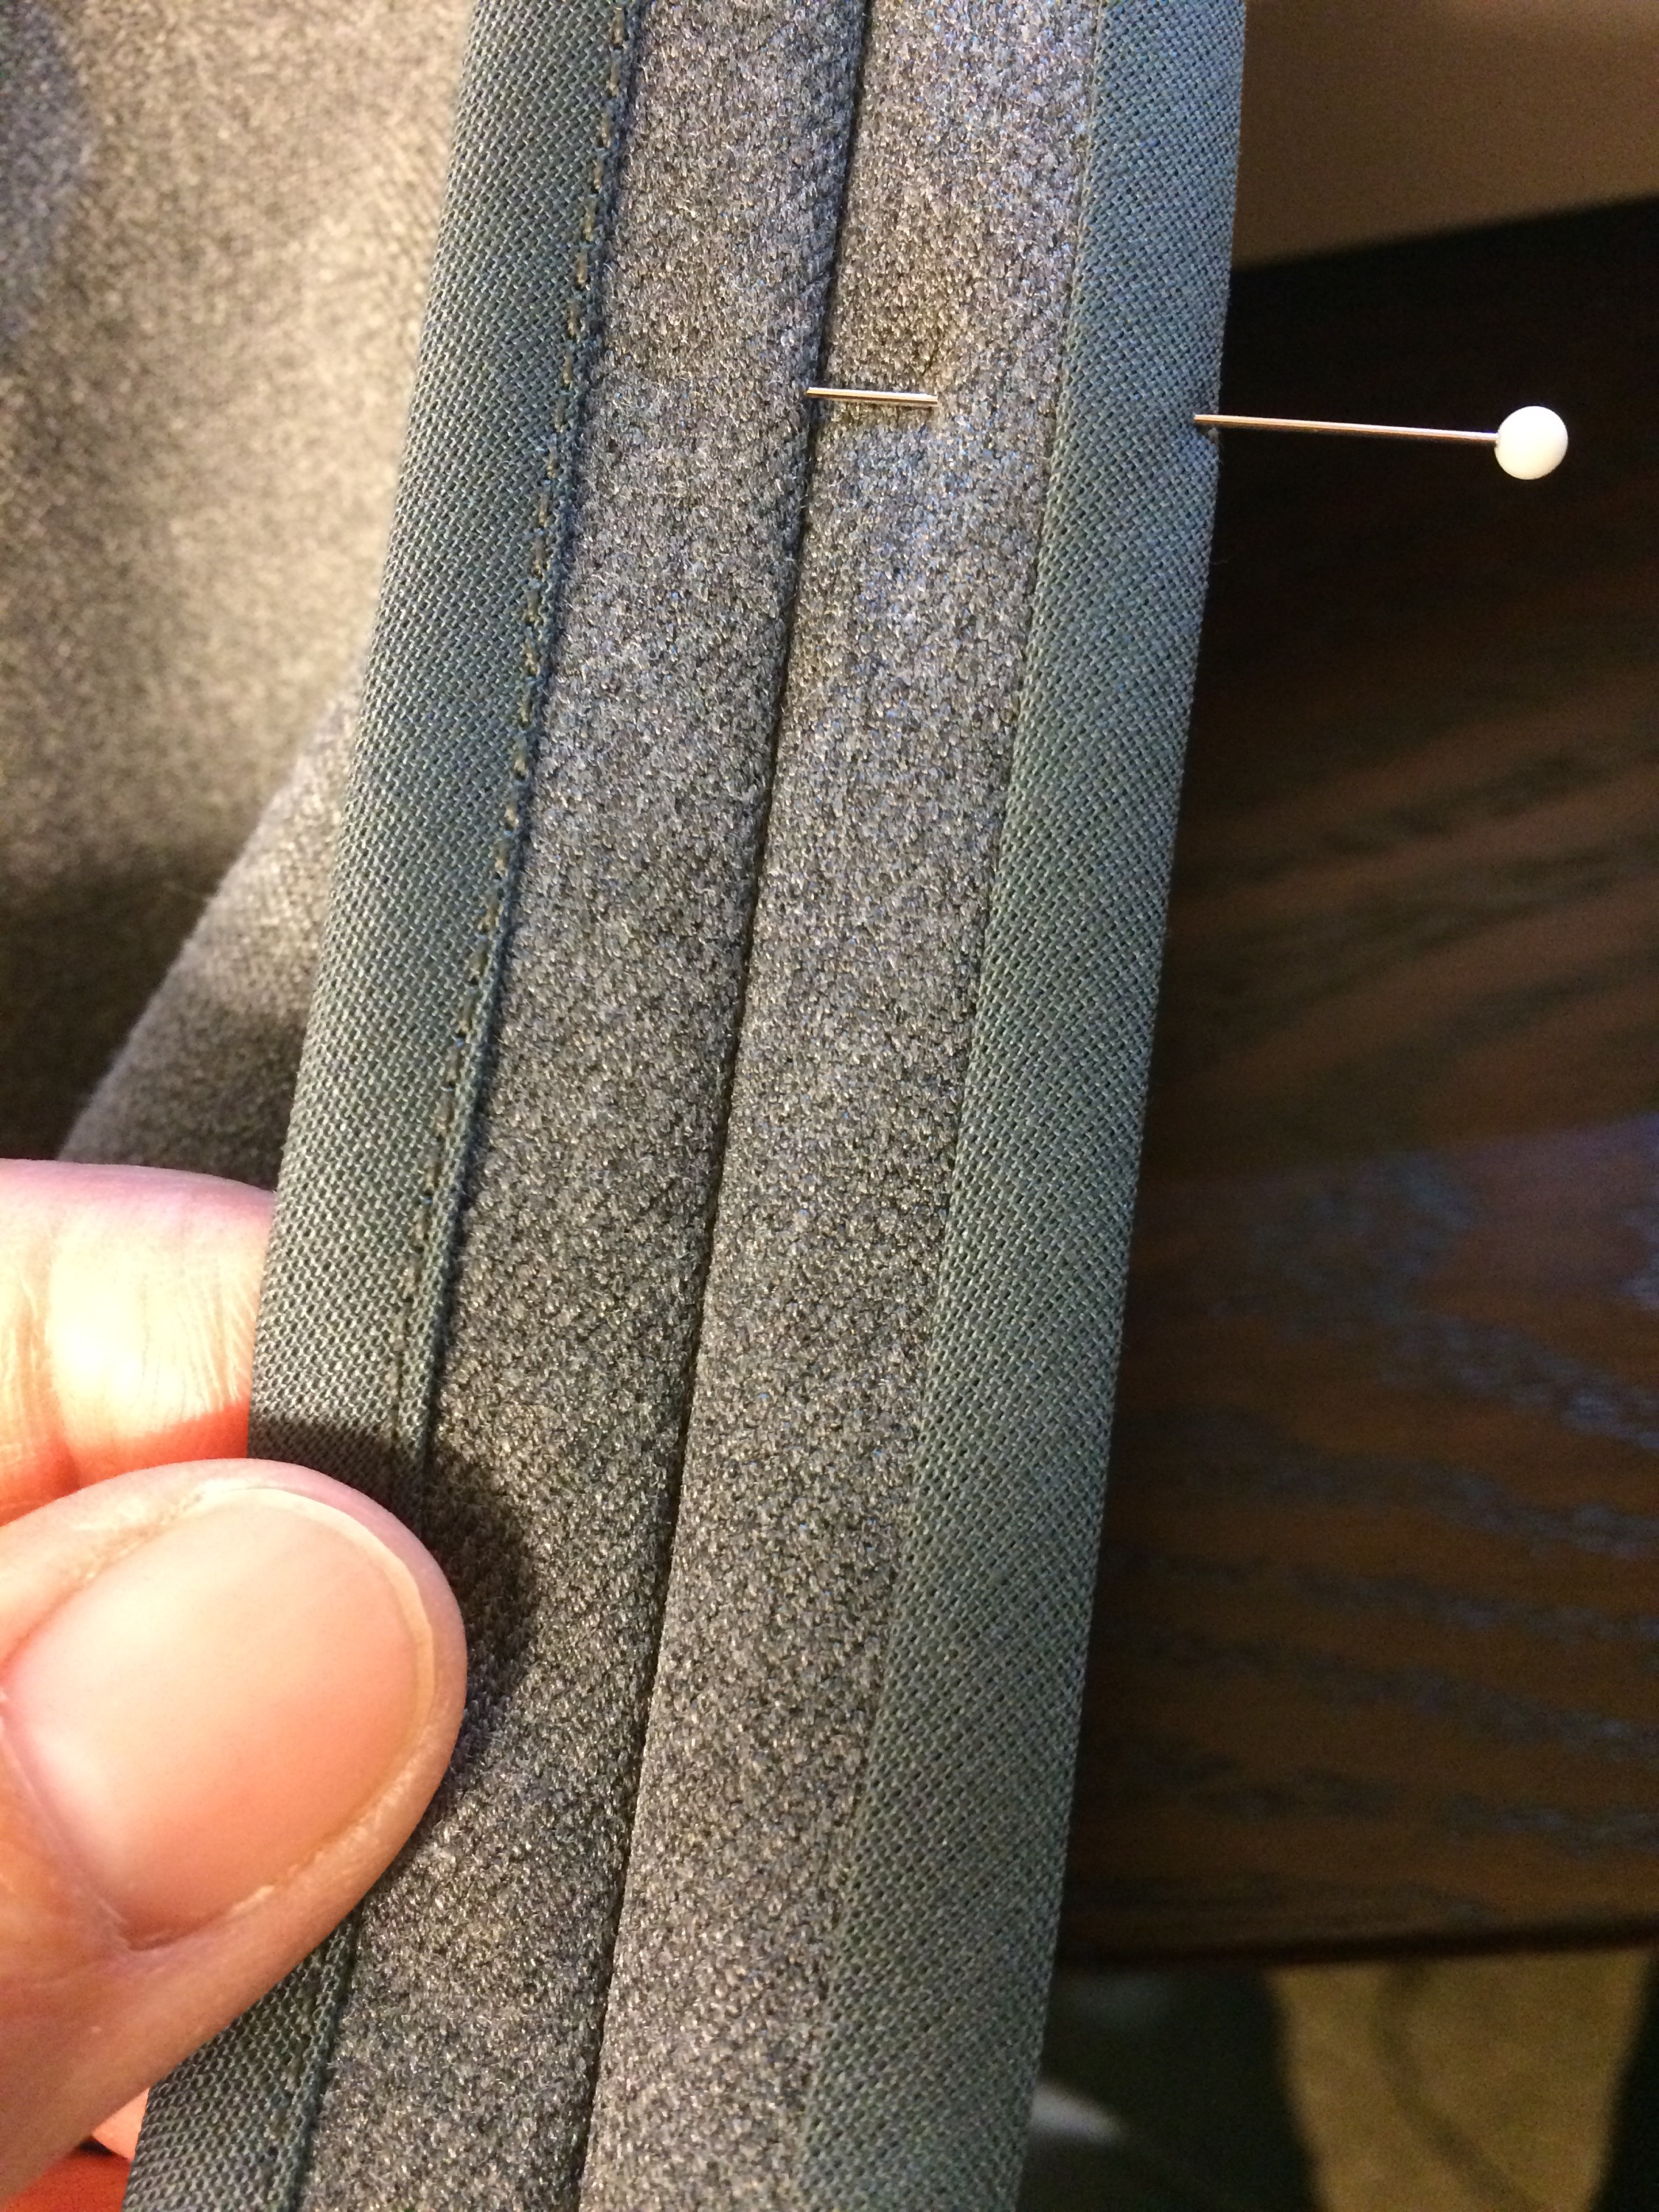
the pocket bag gets stitched up to about that pin by my pinky – stuff does not fall out!


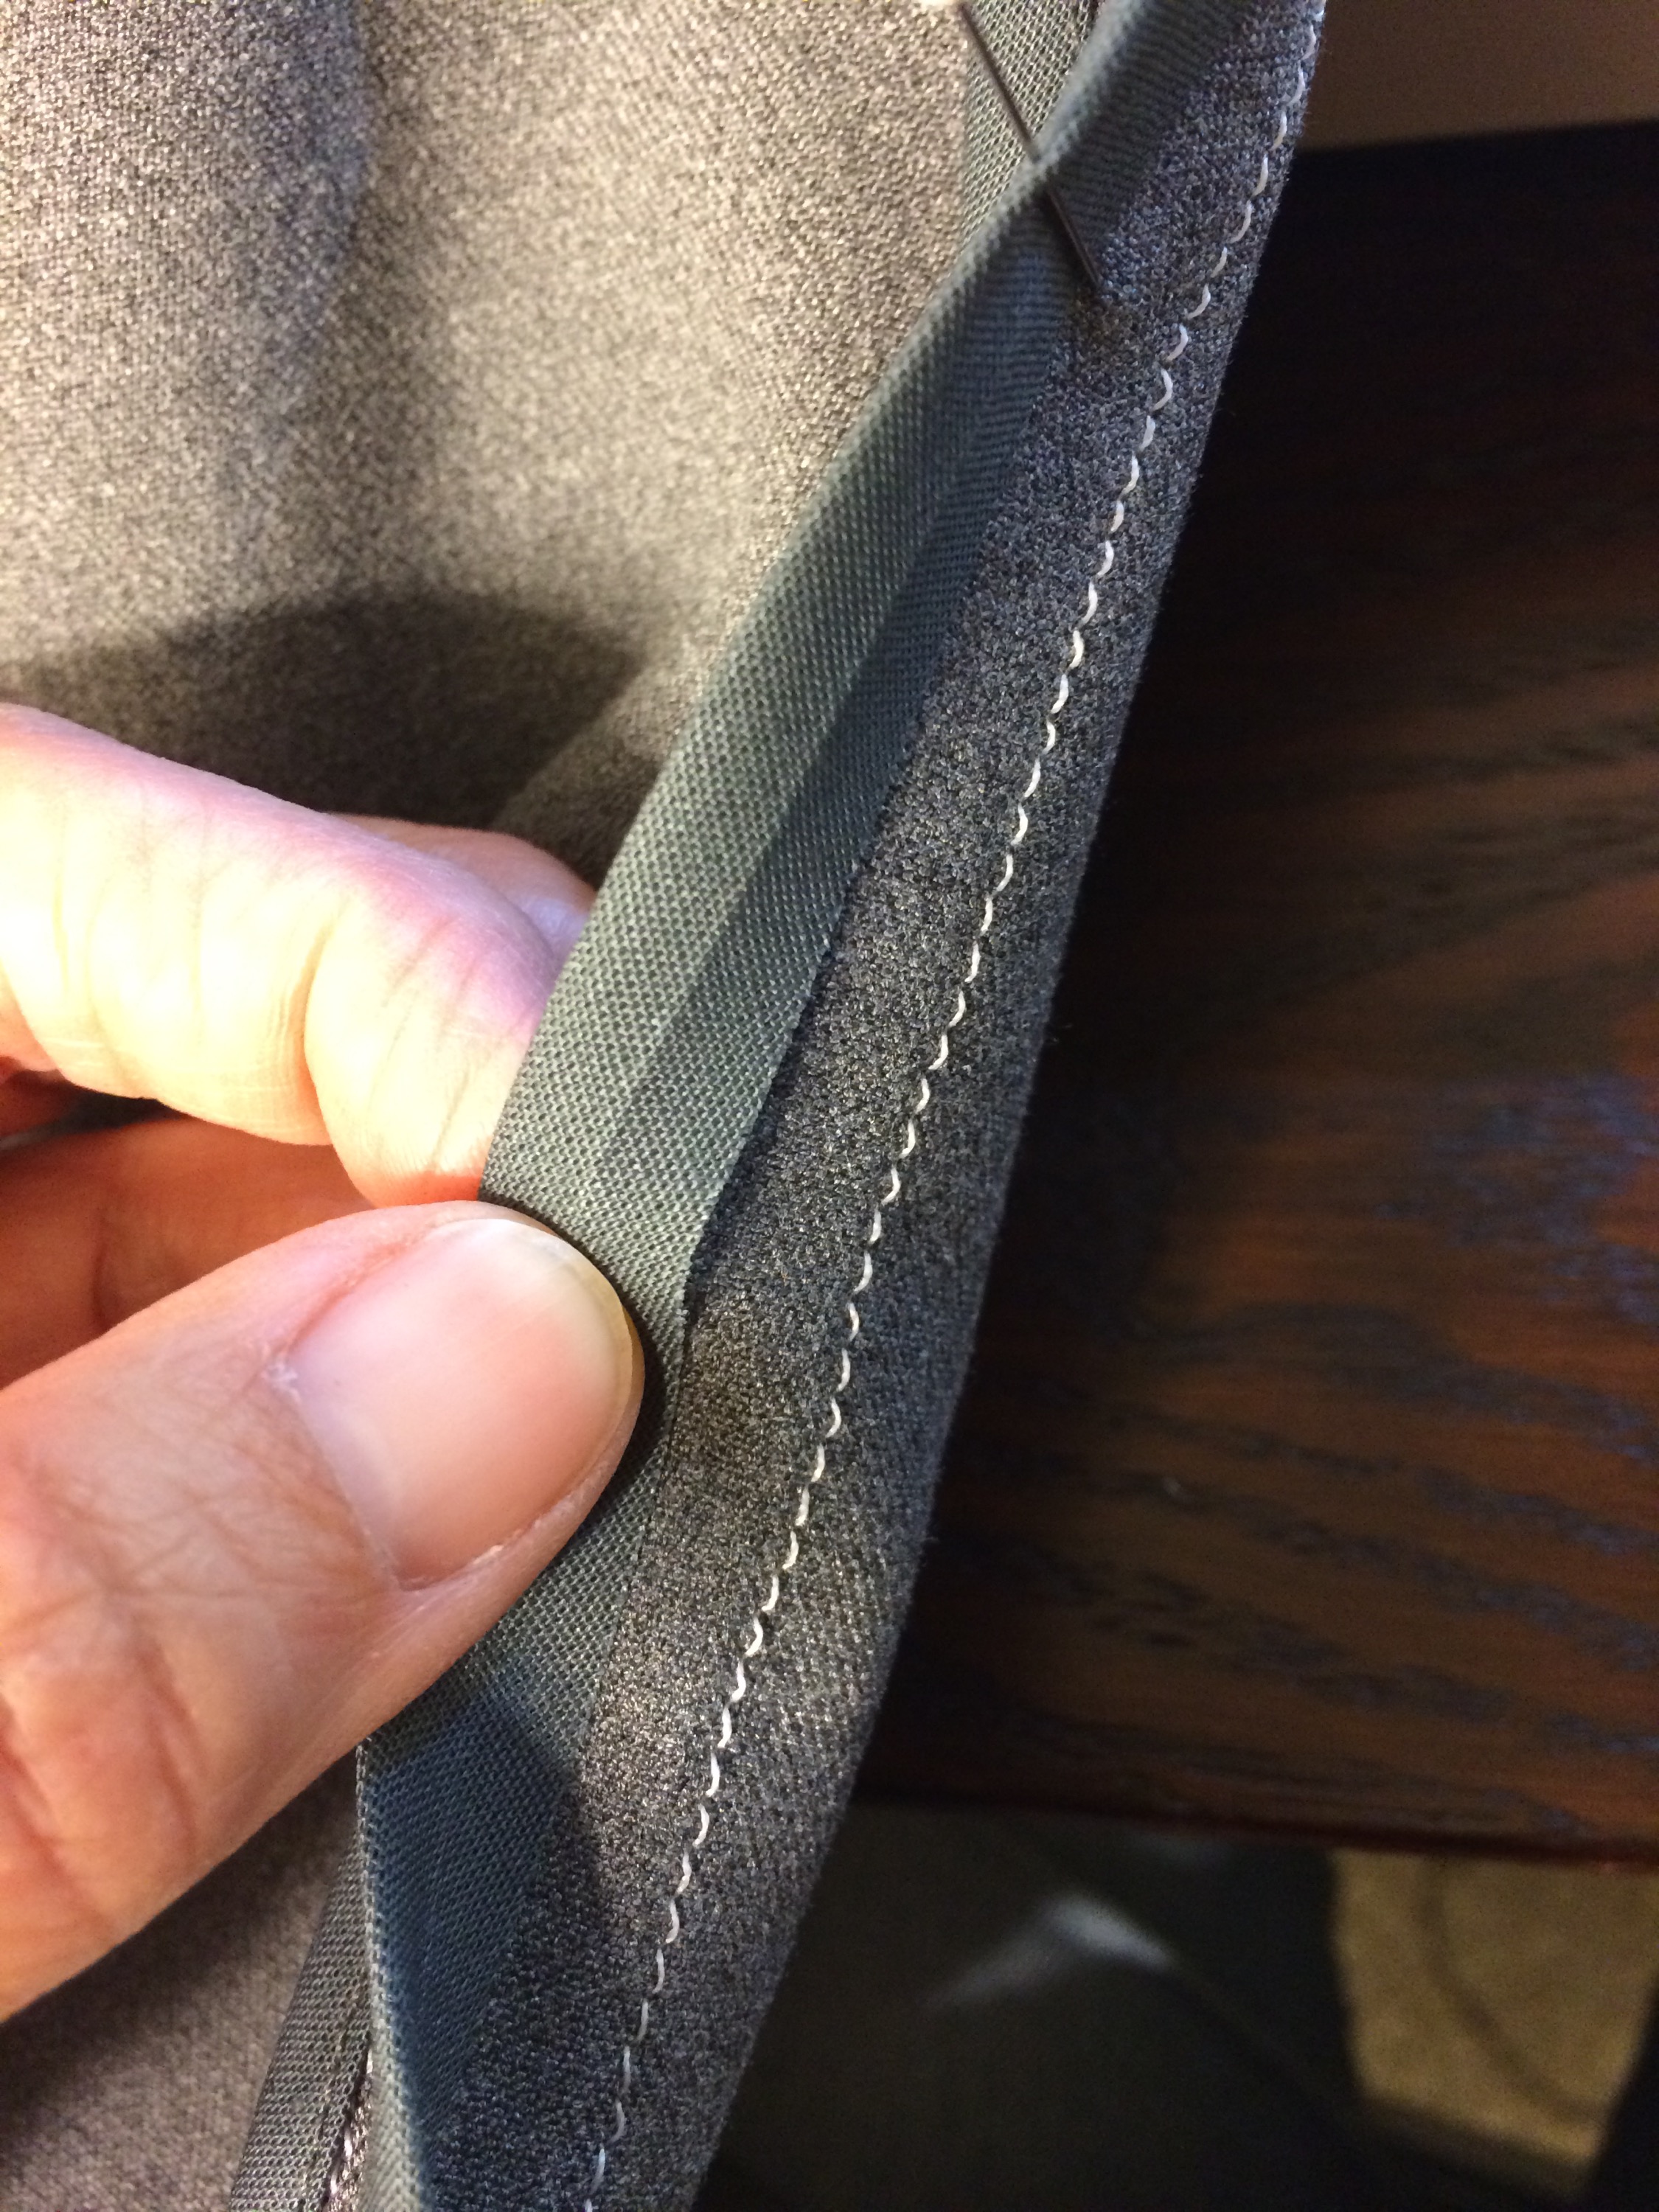
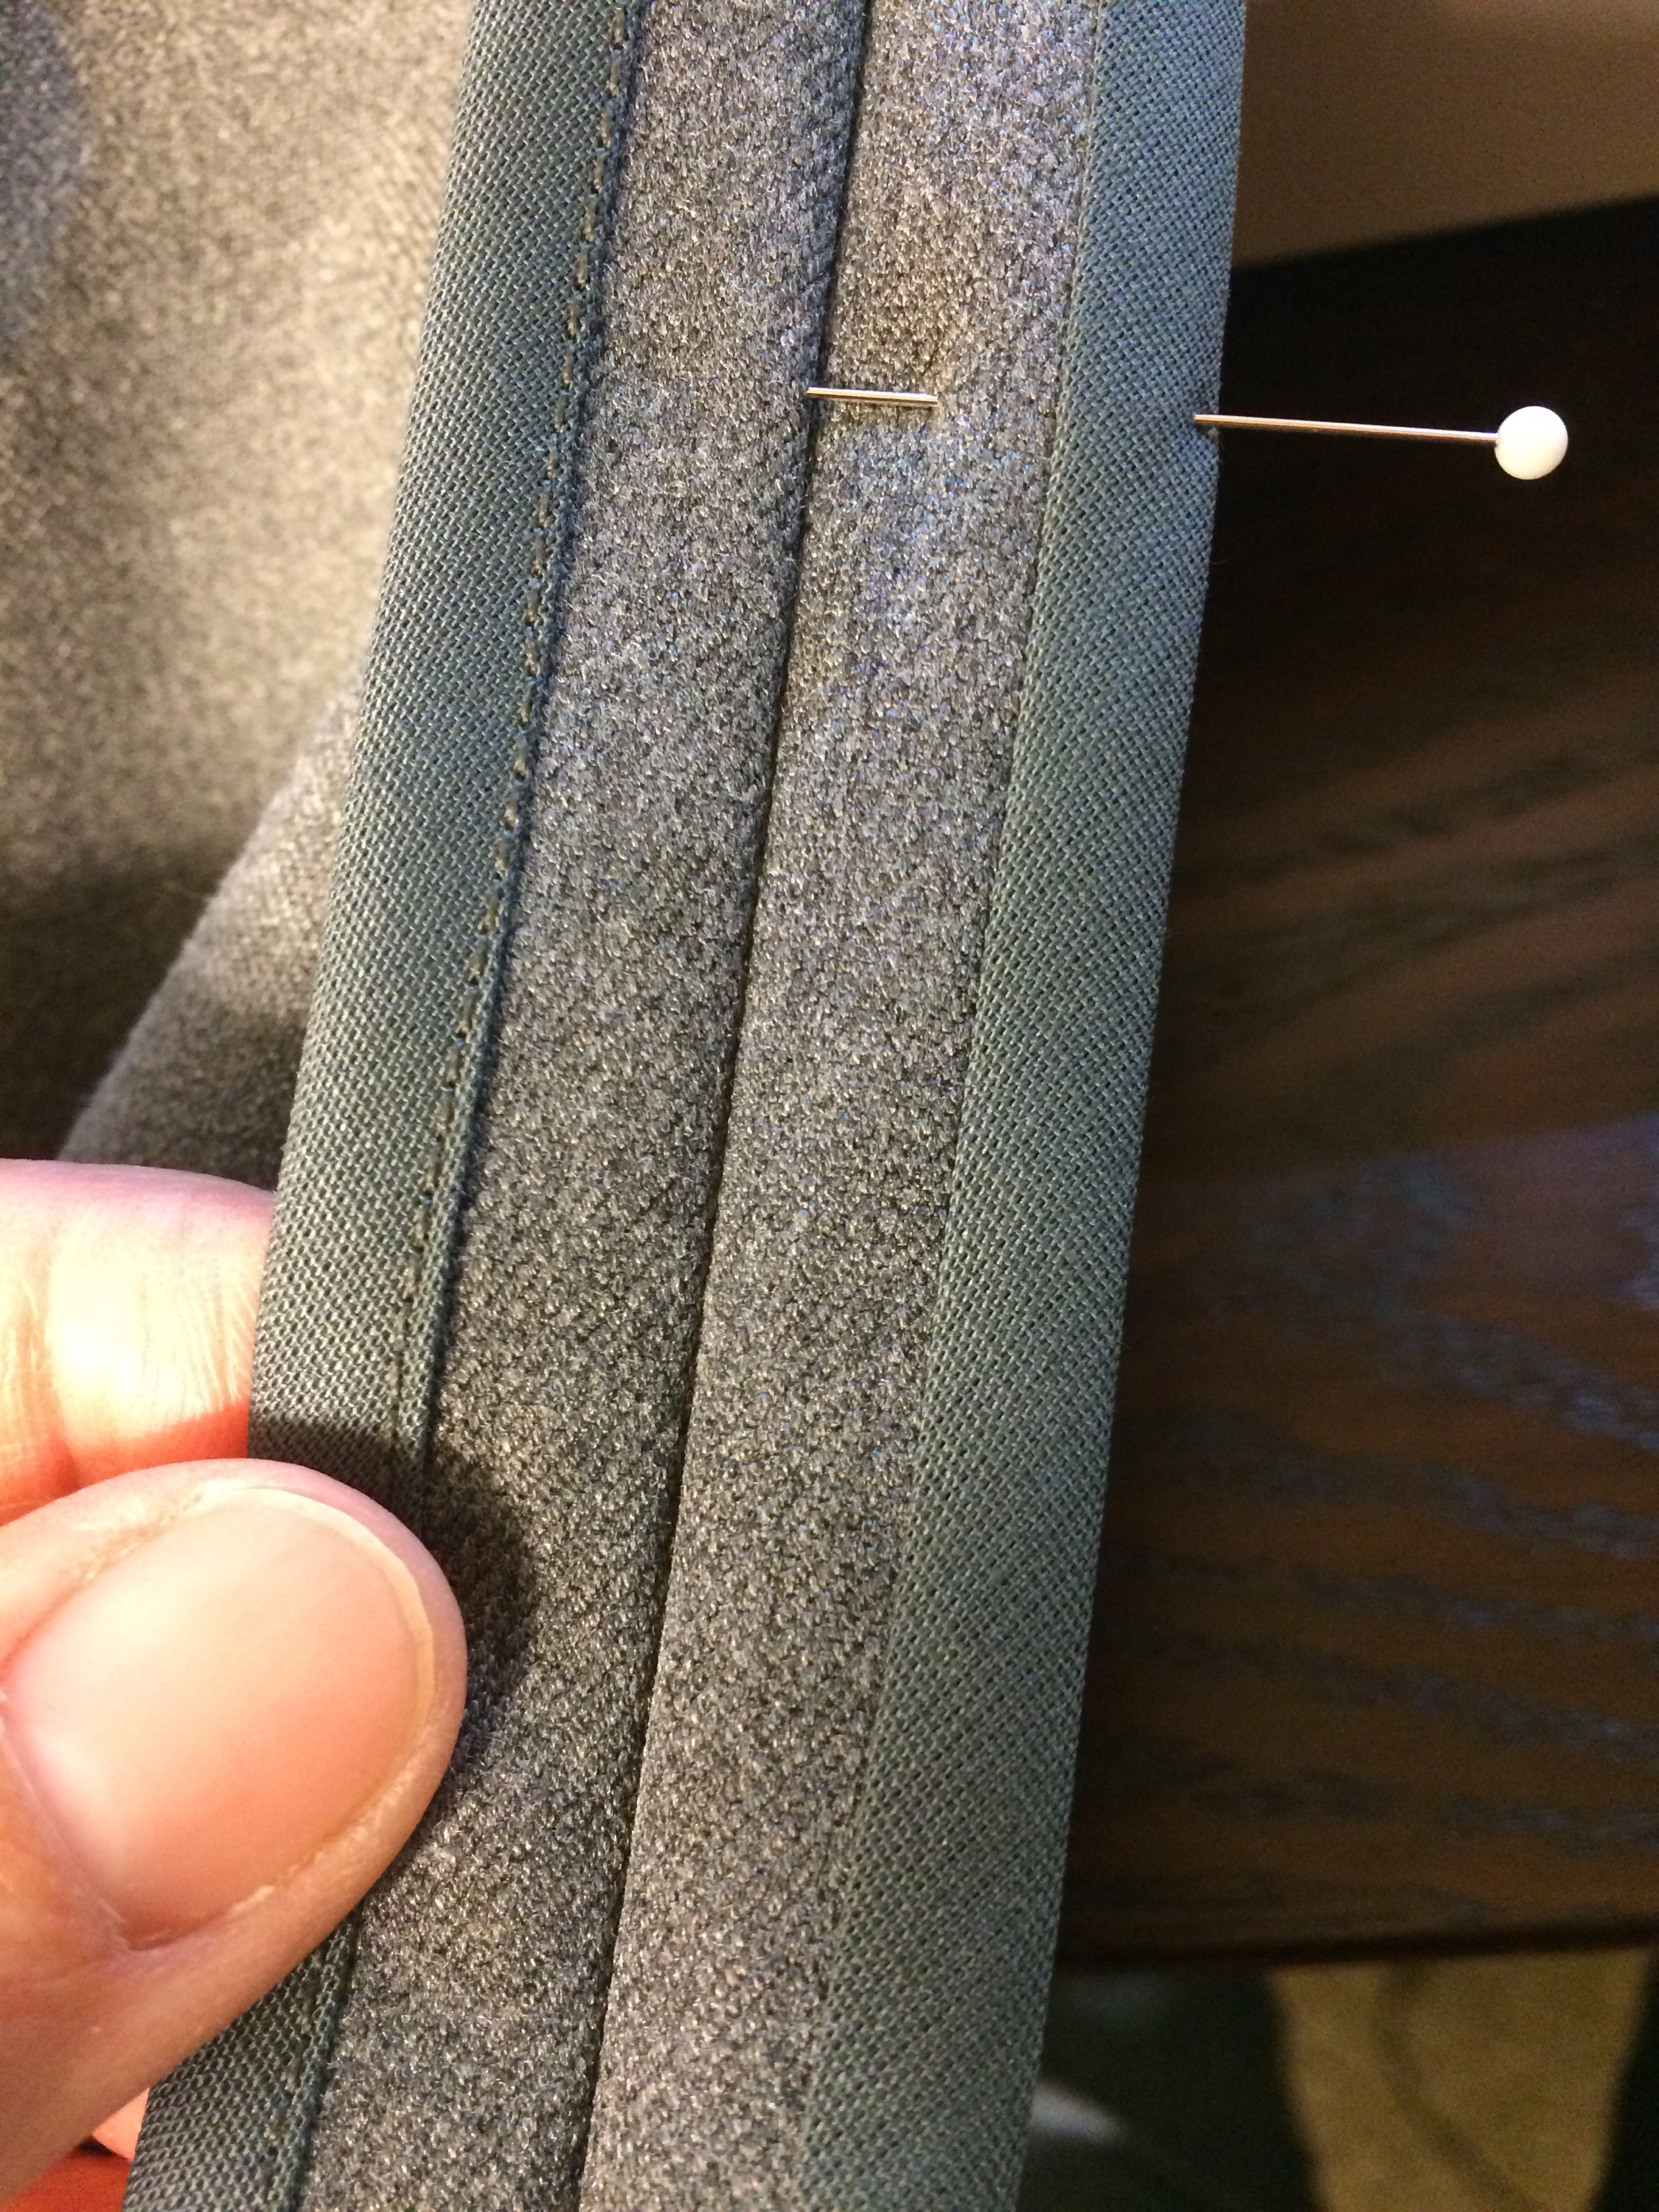
I protected the inseam seams from wear with (what I think is) a Hong Kong finish. Single fold bias tape applied to each seam allowance – through trial, I’ve decided the easiest is to apply to the part of the seam allowance facing the other seam allowance first, then completely unfold the second side and stitch it down from inside (where it will be visible when the seam is flattened). This meant both times it was easier to keep the opposing seam allowance out of my way when passing it through the sewing machine.

apply inside the opposing seam allowances first


then unfold the underside all the way – less bulk


and stitch again from the visible side


To be continued…

First suit

A few weeks ago I planned to make a visit to one of my clients, for a training in some of their customizations. Looking in my closet, nothing really excited me, and even worse, nothing fit properly for an out-of-the-office professional occasion.
I started out planning a 1940s style skirt suit, but soon realized it would not be accomplished in the time I had available (look at that, I must be growing as a sewist – when you start there’s a huge gap between what you think you can accomplish in a set amount of time, and oh, I don’t know, REALITY). 

I poked through my pattern stash and my fabric stash for something simpler, and a suitable material.

I had a lovely wool blend tweed that had washed up well but had never been “promised” to a particular pattern, so when I found Vogue 8717 in my pattern drawer, I decided it would work. I didn’t have a silky lining material for the jacket, but a quick trip to Hancock’s (side note – I am very sad they are closing!!) netted me a lovely blush charmeuse with tiny stars on it. 
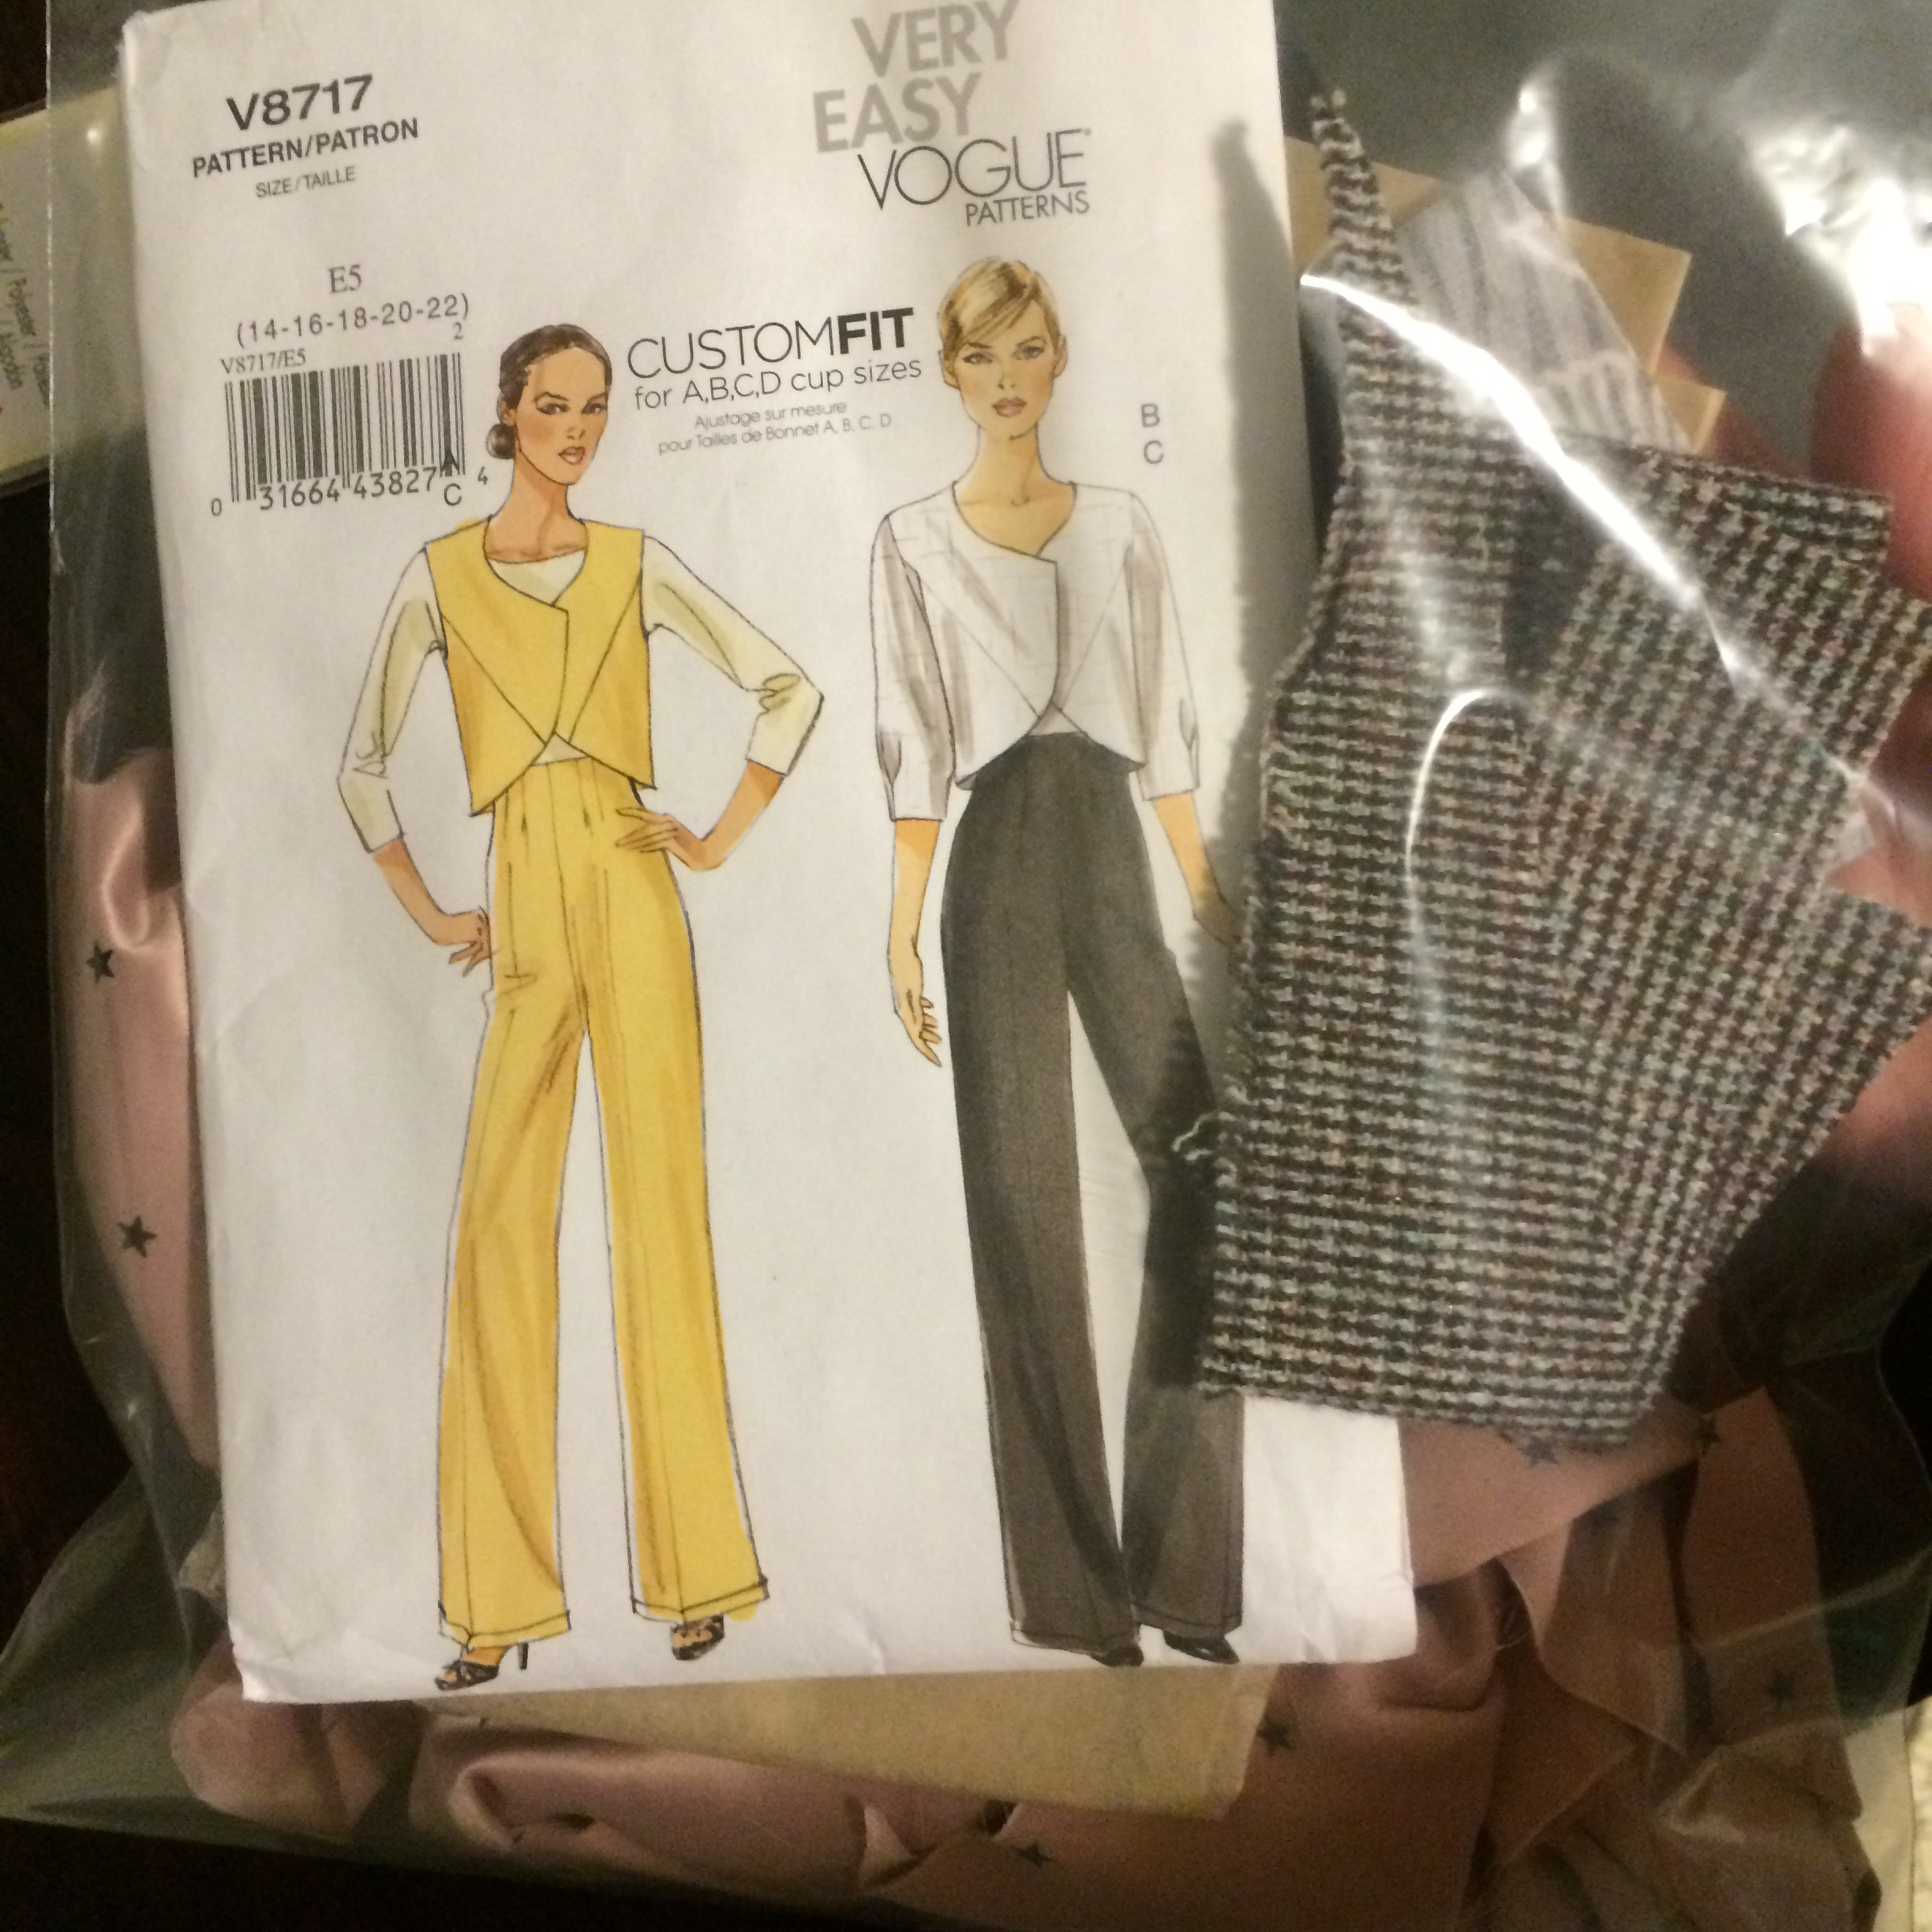
V8717, with fabric samples

The fabrics: 
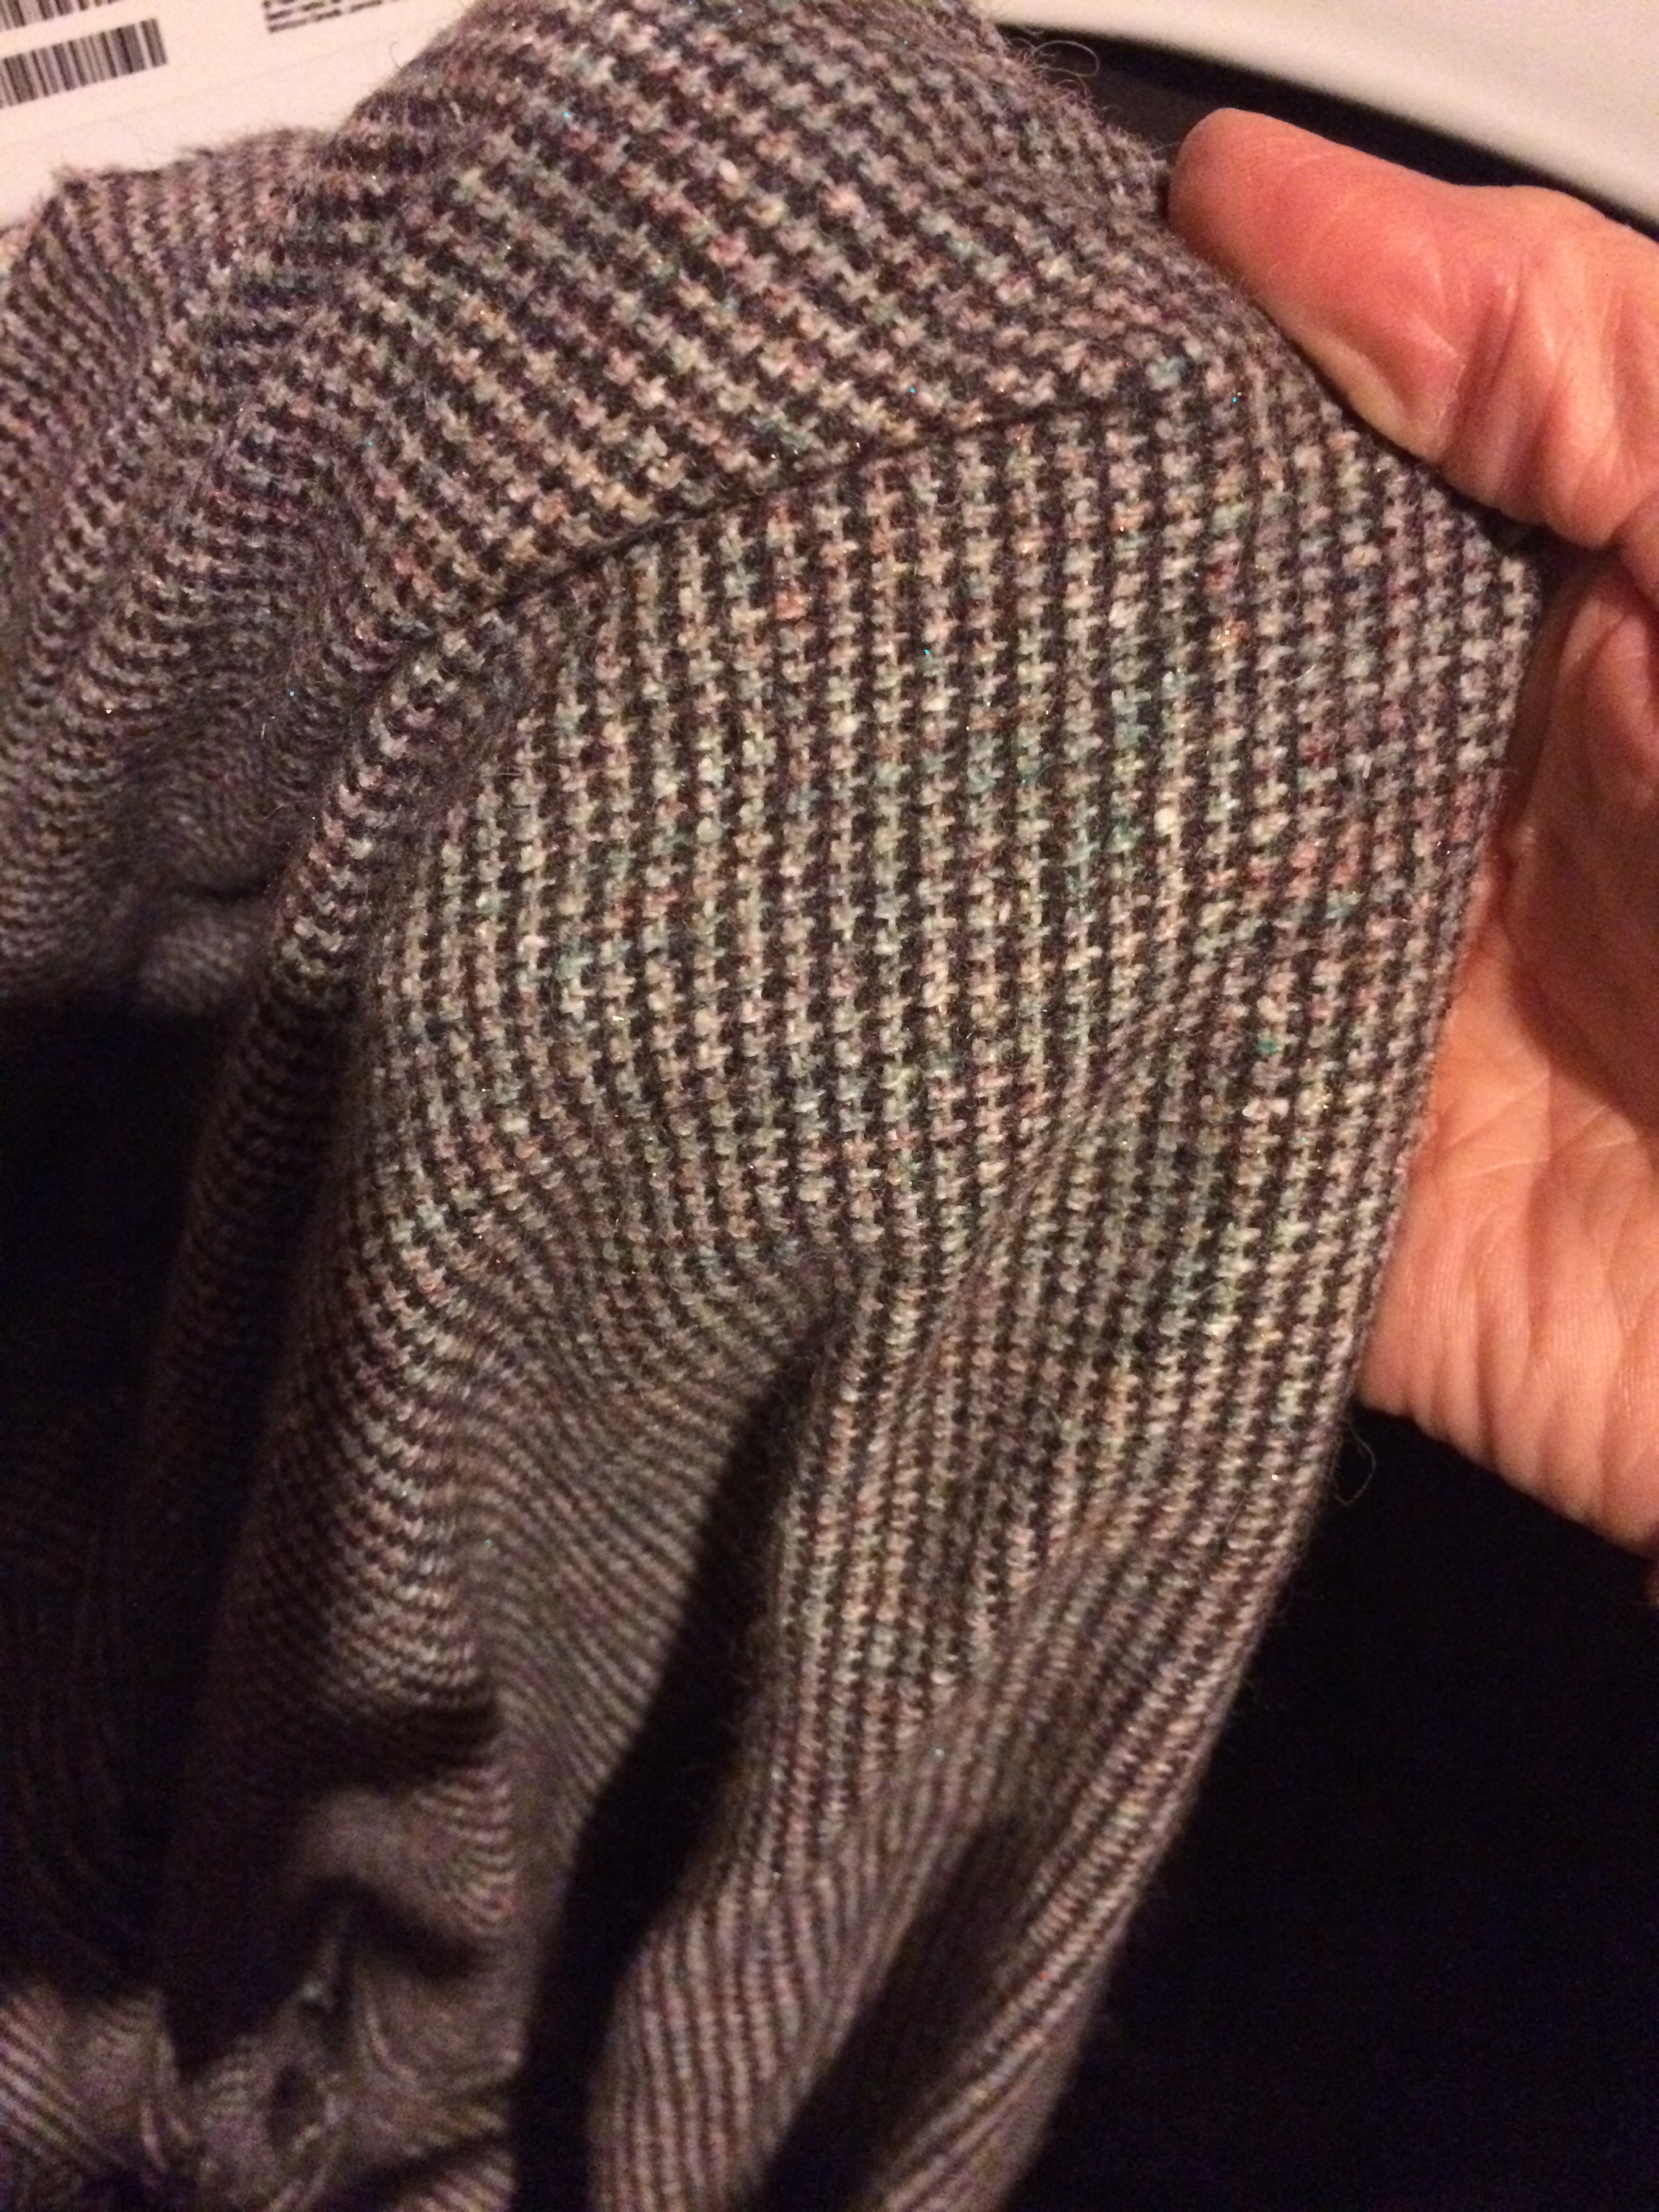
I love how this tweed has hints of turquoise and pink, as well as the cream, tan, and brown
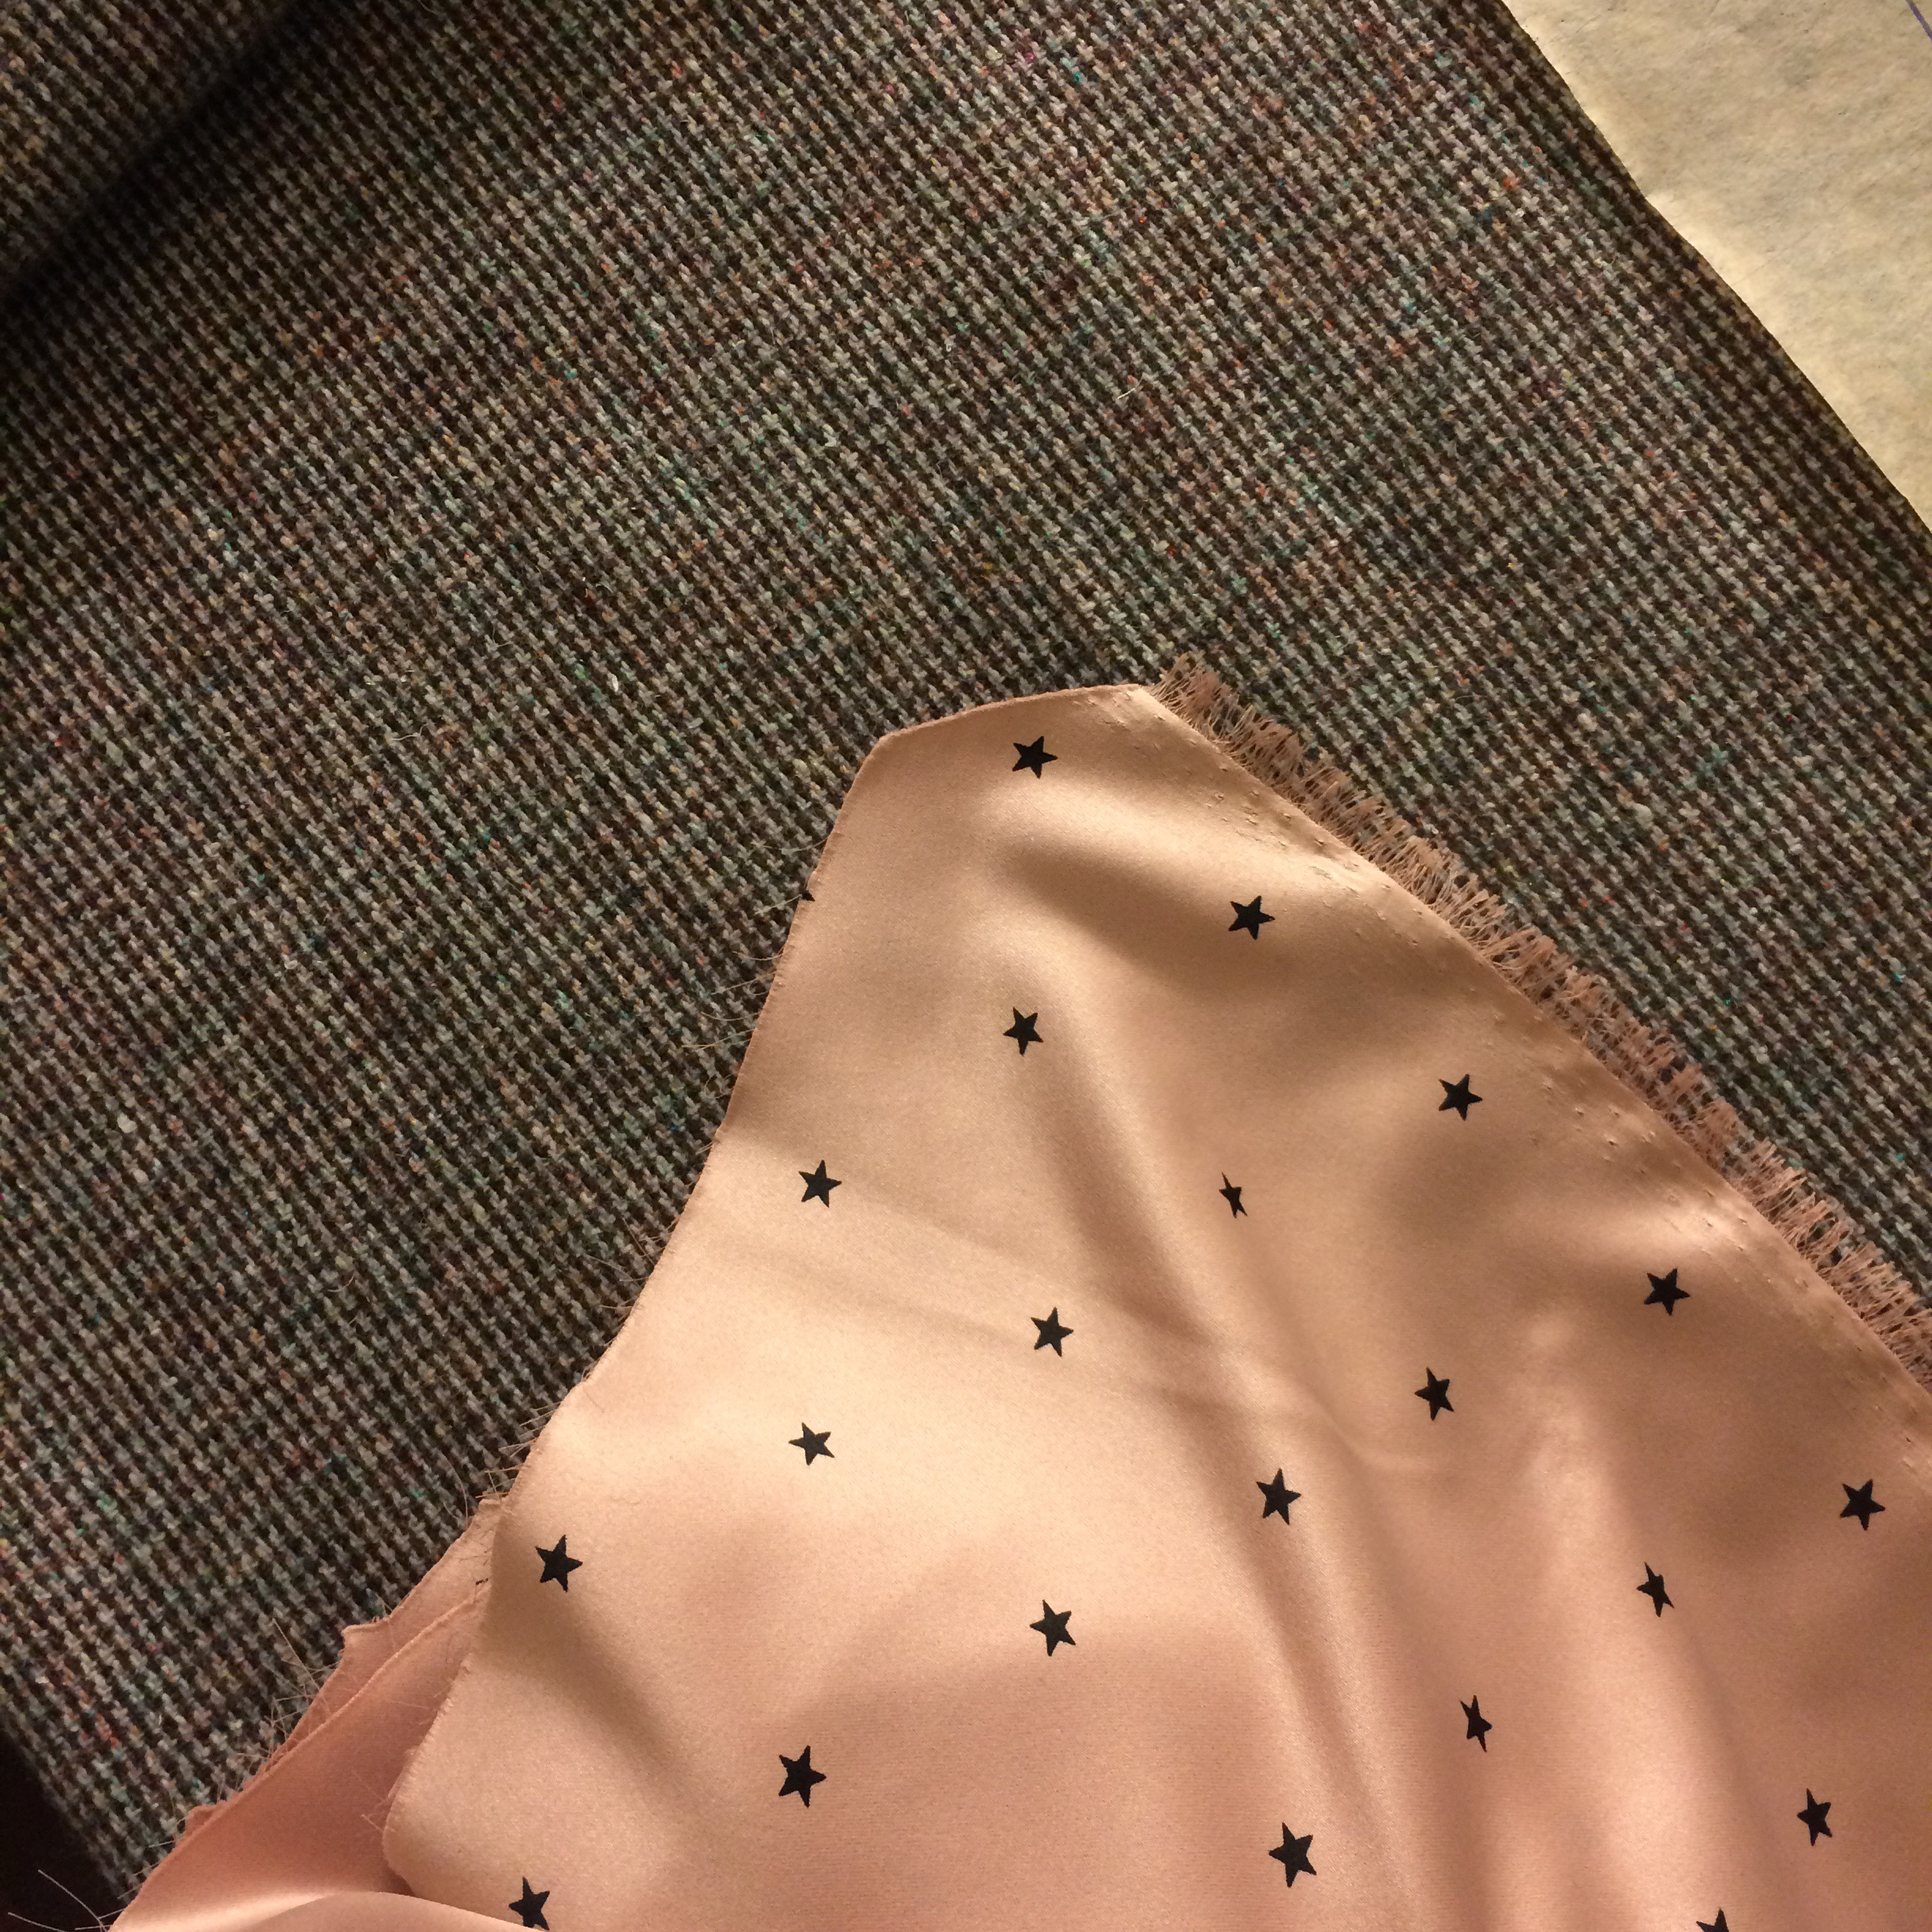
  

multicolored wool blend, blush charmeuse


I spent most of my time on the jacket. Fitting through the bust is always an issue as most standard fabric store patterns are drafted for a B cup, but luckily this was a newer pattern that provided separately-drafted pieces by cup size. This got me a lot closer to a good fit, with much less flat pattern work; this is good because I am still very much learning about adjusting flat pattern pieces for a non-flat body, and I am very slow at pondering the needed adjustments!

fitting the jacket bodice

The jacket was lined, so I basically made every part twice, once in wool and once in charmeuse.  

pretty proud of this lining


finished sleeves attached by the wool; next was slipstitching the charmeuse all the way around

 
This pattern had you completely finish the sleeves before you insert them, which was a bit different for me. If you follow their instructions, be sure to measure your sleeve pieces carefully – the bicep was just big enough, but the armscyes were quite snug. I was able to get away with using a 3/8″ seam allowance on the underarm instead of 5/8″, but only just.

The other assembly that was different for me, due to the sleeve being completely finished before insertion, was having to slipstitch the entire armscye by hand. It wasn’t especially difficult, but I definitely prayed a few times that I was lining it up correctly and not pulling the sleeve up too far from the inside.

For the pants, I knew that charmeuse would not cut it for pockets; it just wouldn’t be sturdy enough. For the pockets I fulfilled my quest to have “secret” birdies as a sort-of signature in clothes I’ve made for myself, by cutting the pockets from this printed cotton that was an amazing match for the colors of the wool!  

birdie pocket bags!

 
Since I used a lot of time finishing the jacket, I did the pants in a bit of rush. In spite of that, this third pair is my  best fitting. My very patient husband helped me take some awkward measurements, so these pants have room for my tush! As I got to the hem, which was marked as having 1 1/4″ allowed, I could only use 5/8″ – I’m slightly taller than average, and holding the pattern tissue up was apparently not accurate enough (lesson learned), because I didn’t think I needed to lengthen. They look fine, but would be better with the proper hem depth.


The finished suit, a little rumpled after a day or running around, and oddly riding up, which I didn’t notice til now. It didn’t do that in the mirror. Photo courtesy Michelle Matlack.

 
I do have to say, the pockets in these pants are some of the best I’ve seen in any women’s pants! Deep, with  a good bit of the side stitched so nothing falls out…. I liked them so much I’m hard at work on my next pair. This isn’t the first pattern I’ve wanted to make multiples of, but it is the first I have actually cut out a second of. I’m kind of enjoying making something where I’ve already worked out the fitting issues, and I can just take my time to finish all the insides well;  this new pair will be worn into the ground, LOL. 

Sneak peek: 
sneak peek at V8717 pant, version 2


Never ceases to amaze

5 days in with my lettuce and tomato seeds. Every.single.time it’s magic. Planted on Sunday.

 Wednesday:

peeking lettuce


Thursday:

getting taller; no tomatoes yet

 
Saturday (today, after just under a week): 

on the right you can see the first Abe Lincoln tomato seedling


Spring itch

I’m really ready for spring. It’s been an odd winter, mild to start then strange fits of deep winter weather. The up and down is weird.

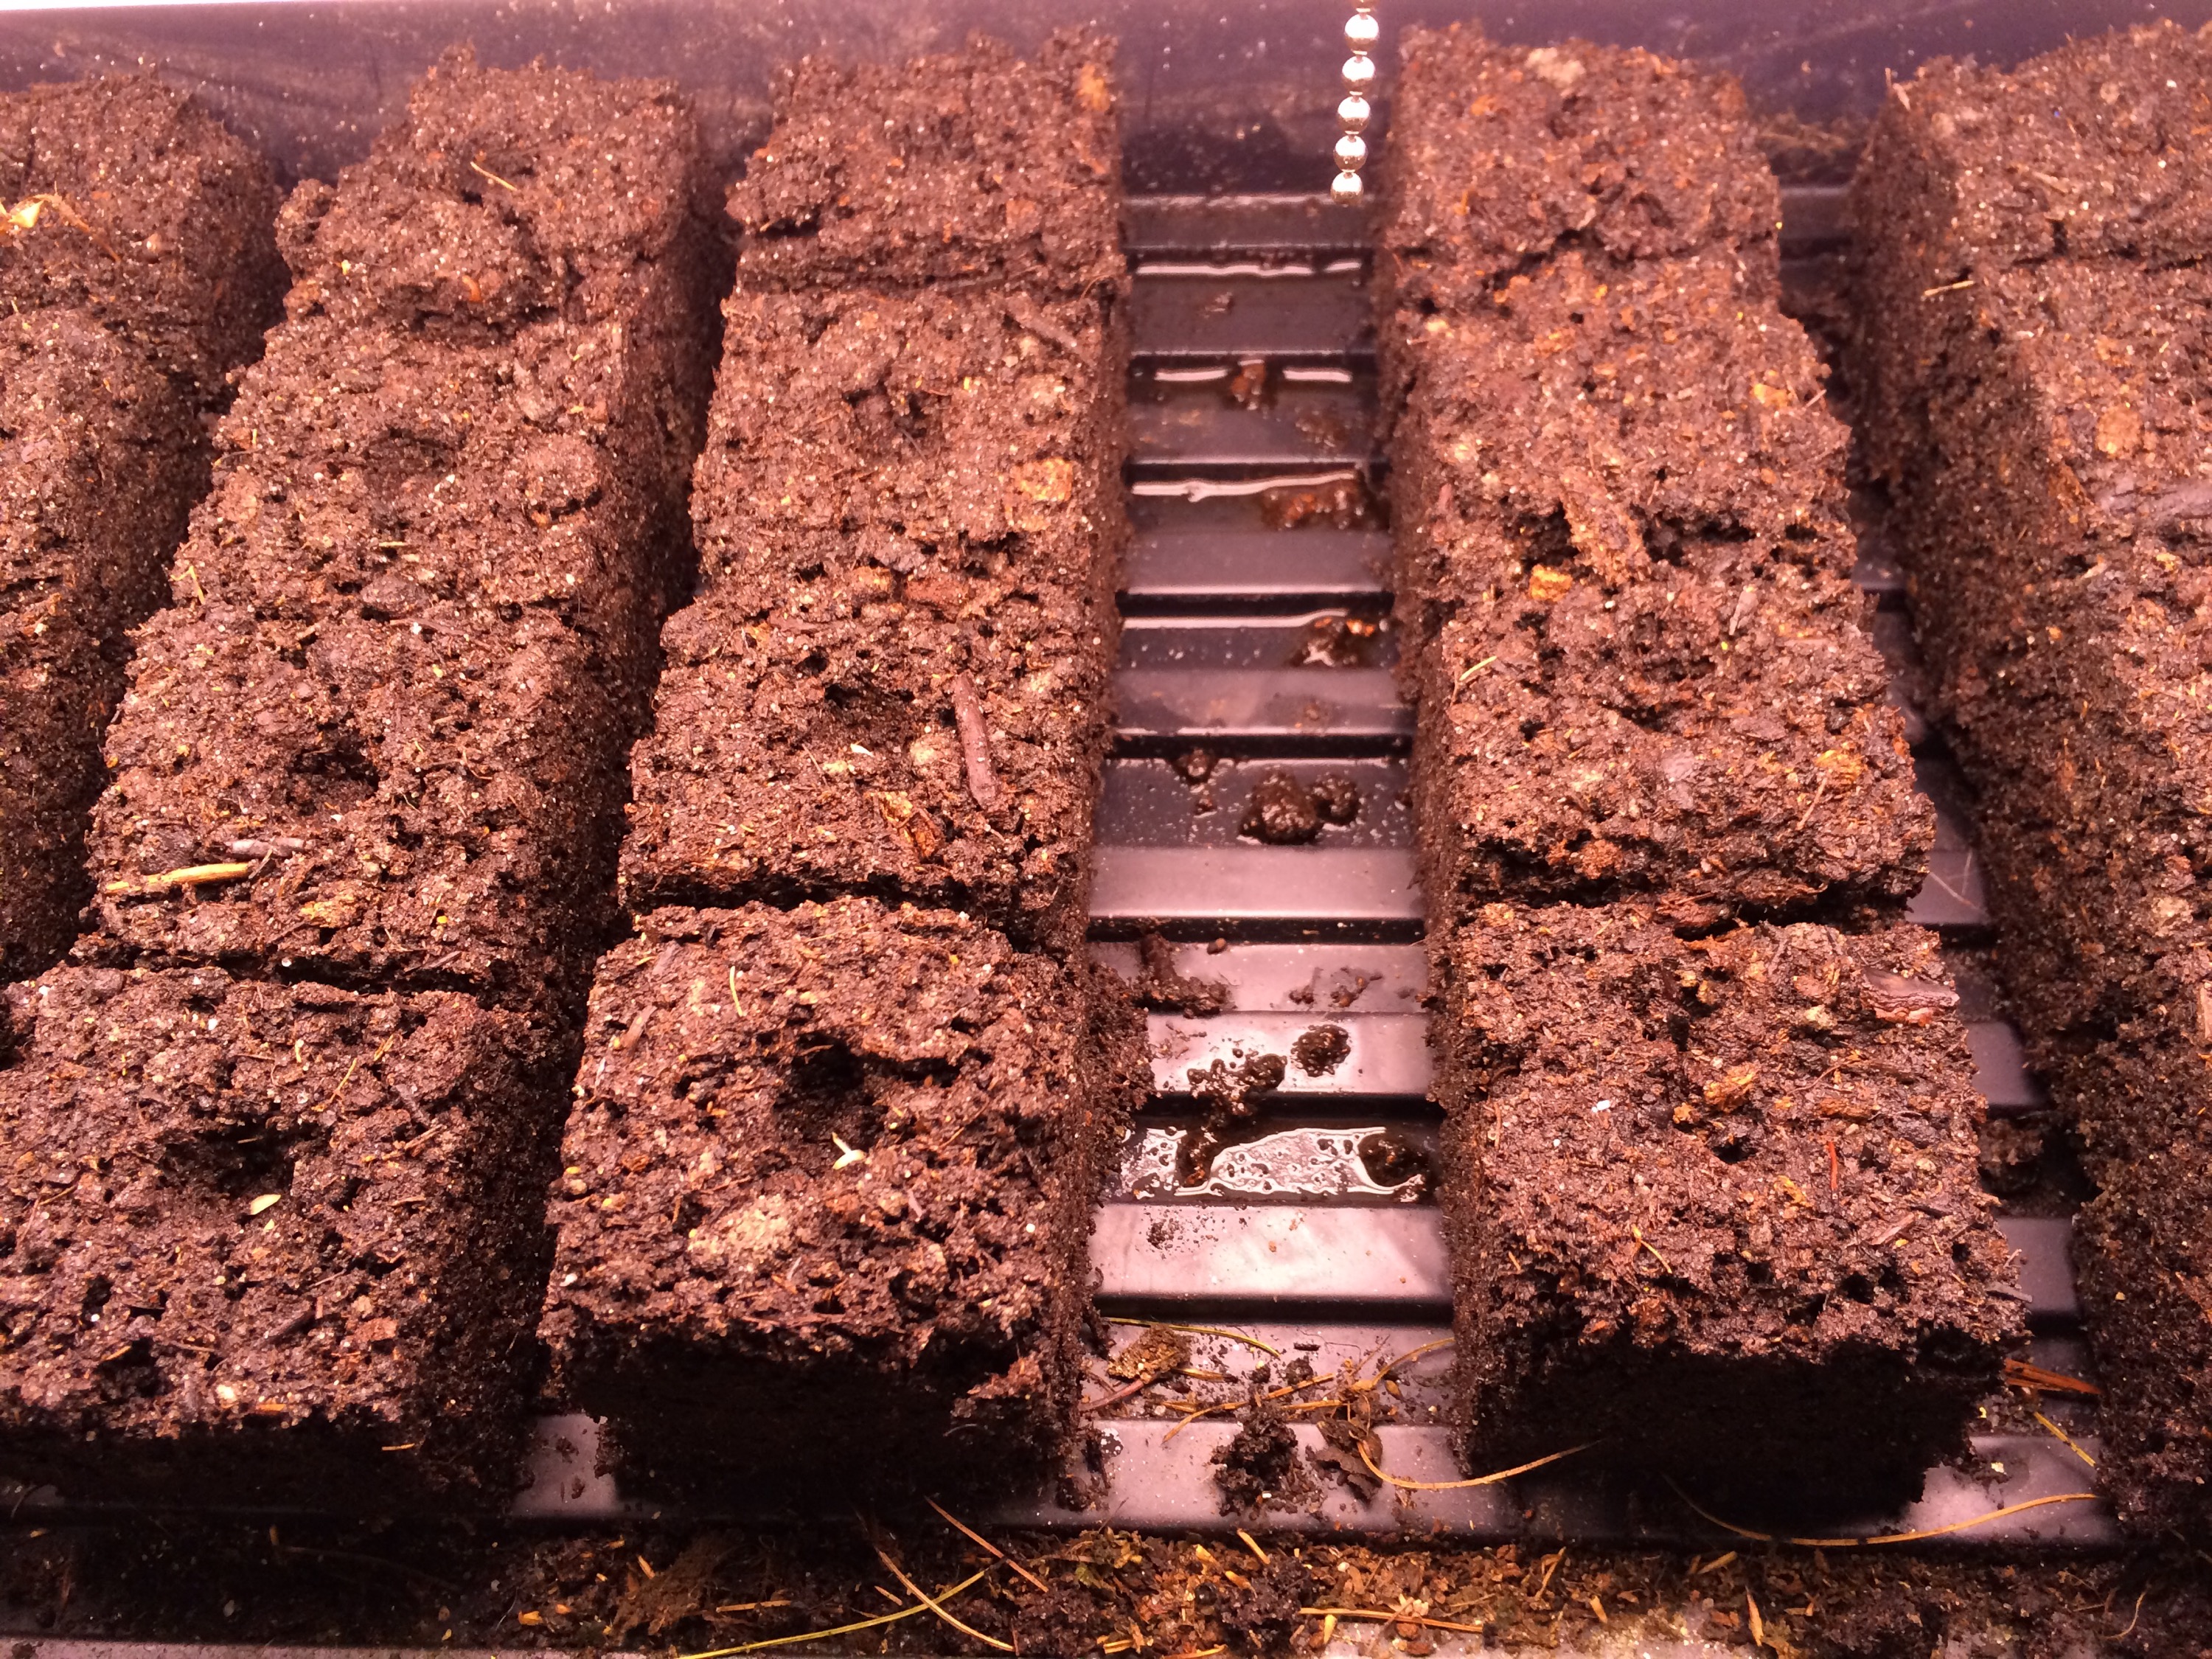
It isn’t quite yet spring though, so I made do:  I made soil blocks (remember the blocking mix post?), and planted seeds!

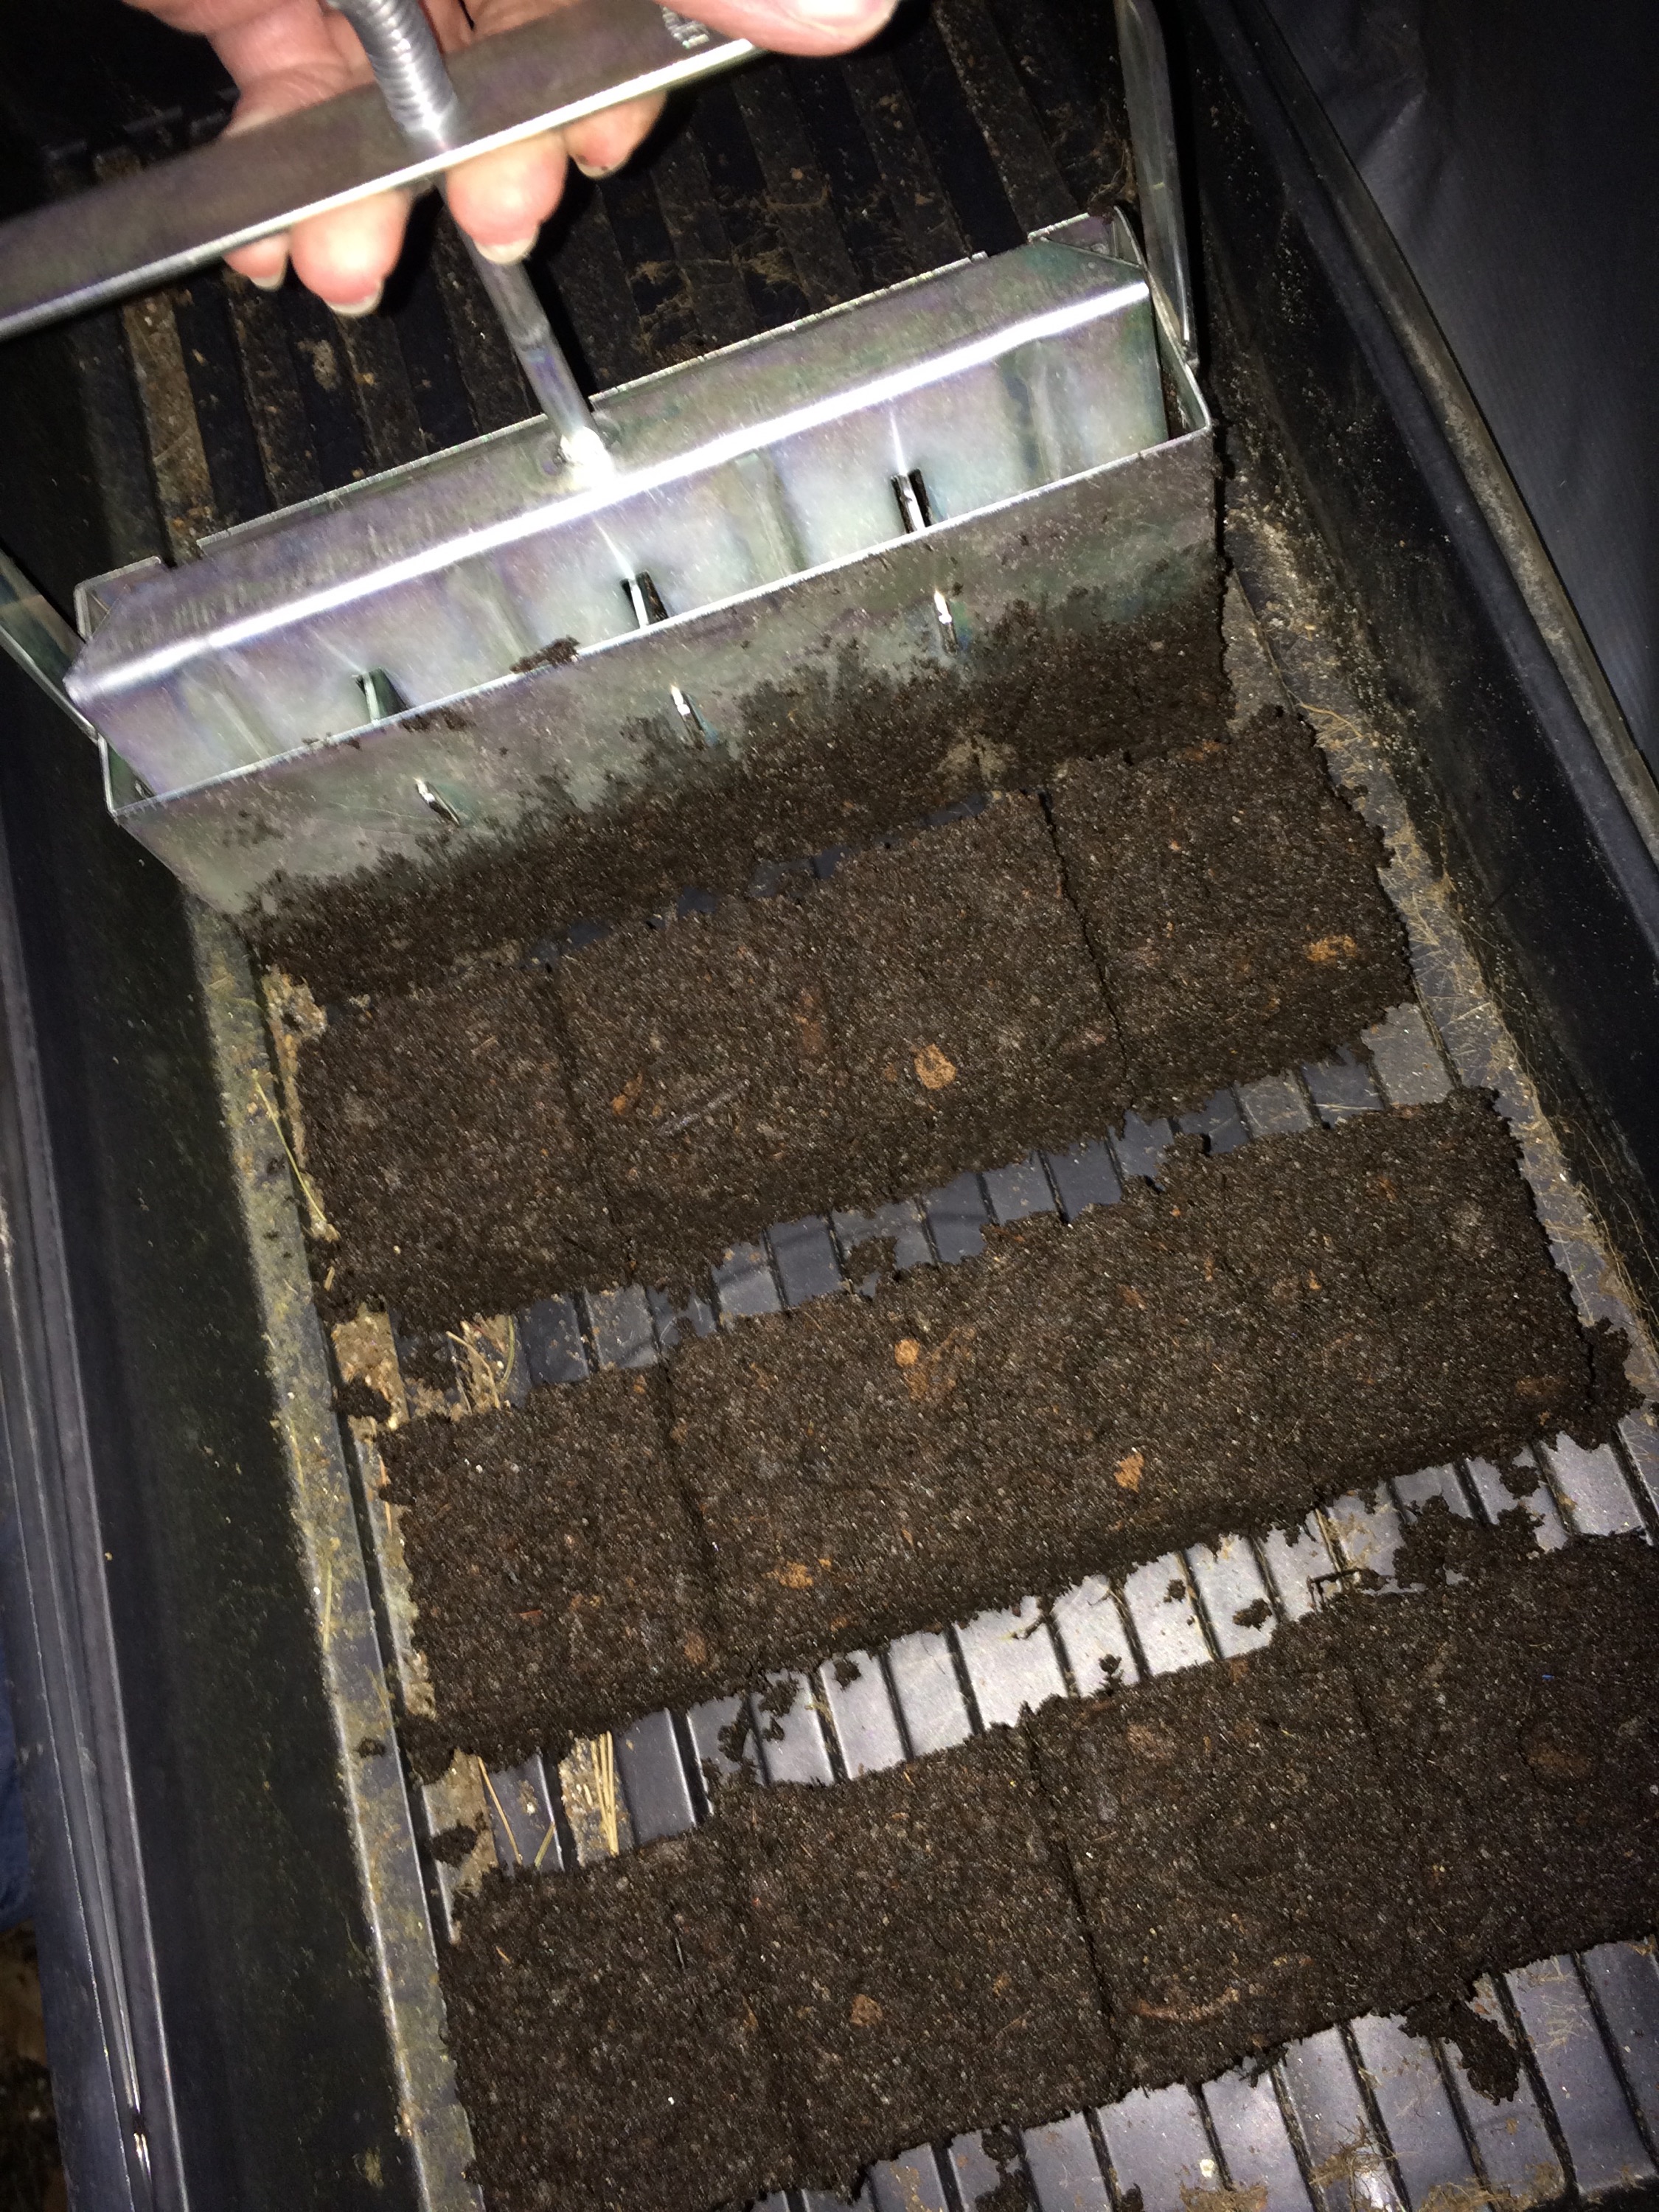
The blocking process was pretty simple – grab my mix, add some water and stir well. See if it clumps together when squeezed (hmm, that’s almost exactly like pie crust). If yes, make a pile deeper than the blocker, and push it in. I pushed several times just to be sure it was packed in well; then I ejected the blocks into a planting tray. 

ejecting blocks

When I filled the tray, I then put two seeds in per dimple – the blocker intentionally leaves dimples for you – so I could improve my odds of success. 

two seeds per dimple


So now I have lots of blocks for Pirat Butterhead lettuce (don’t even ask how that tastes because I can’t tell you, but I had to try it because of the unusual name!), and four each of the Cherokee Purple and Abe Lincoln tomatoes (I’ve never tried these either). 

pic with the seed packets, mostly so I remember which tomatoes are which

Now the tray is under a grow light. Wish me luck! 🙂 

For Casey, by request

The CS team at work has our weekly meeting on Thursday mornings, and one tradition that came with our boss when joined the company, is that it’s a breakfast meeting; each week we take turns providing edibles.

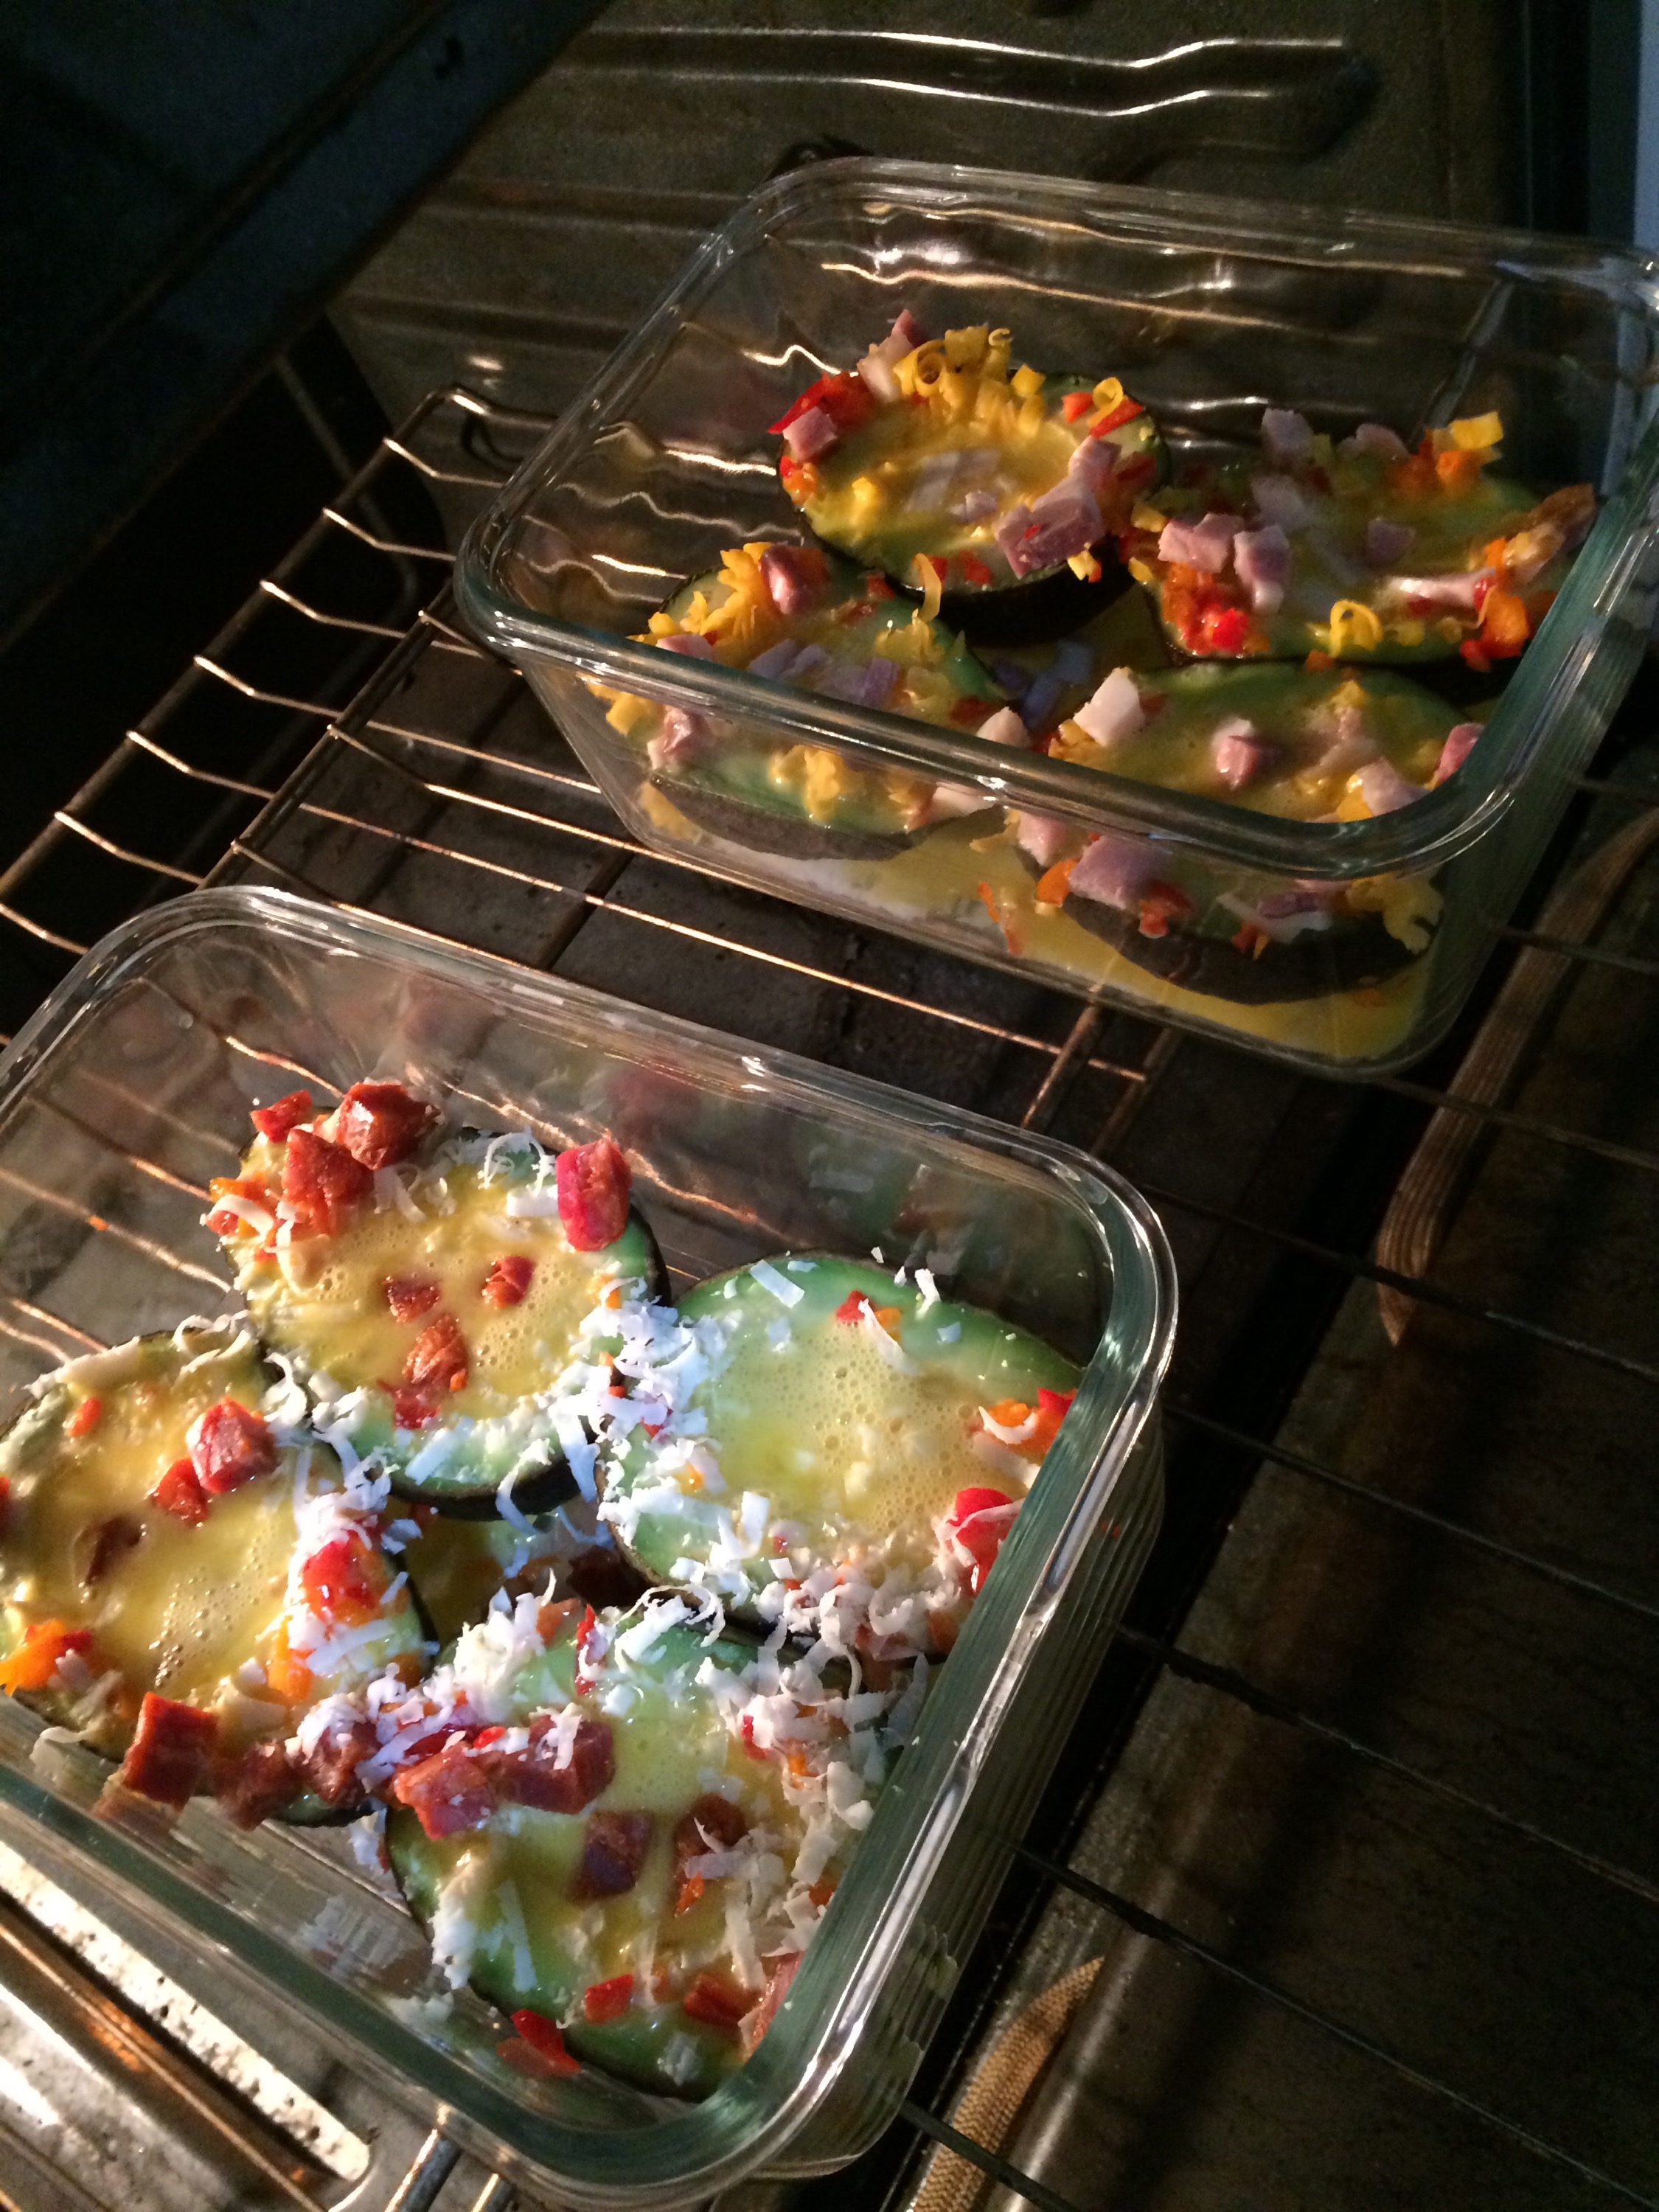
This week it’s my turn for breakfast. During the week my colleague spent a bit of time Pinteresting and made a suggestion for a dish she wanted to try but felt that she’d like me to try making first: baked eggs in avocado halves.

Hey, avocados, I’m down with that pretty much any day & any time of day. I read through a bunch of recipes and found the consensus is that 425° is better than 350° for the baking part. Beyond that, the field was wide open.

Knowing my colleagues’ meat-loving ways, I hit my local Weggie’s for inspiration. 

I decided to do two different varieties, while also being sure to leave one meatless for myself. Since I needed so little meat (it really doesn’t take much to top an avocado half!), I stopped by the deli counter and got three slices of fancy chorizo, and two slices of organic hickory smoked bacon. 

The meats were fully cooked, which made the task of tiny-chopping marginally less icky. (Don’t ask how many times I washed my hands; it’s probably more than you’d guess.) My husband had to work late tonight so I had no one to beg to please chop this for me, LOL. It was still a pretty icky job but with such a small amount it went pretty quick. My pup Maxtla sure enjoyed cleaning up the dropped bits though (no avocado was dropped – don’t let that near your dog!).

So I have a veg one (just sweet peppers and cotija) for me, some that have peppers, cheddar, & hickory bacon, and the rest which have peppers, cotija, & chorizo.

They are prepped and ready for morning, and ridiculously simple:

Pick your toppings and mince,  small dice, or grate them as appropriate. Halve some avocados. Remove the pit. Take out a little avo so you have some room for the egg. Buy the smallest eggs you can, or cheat like me if you want, and beat the eggs. 

Choose a baking dish where you can fit the avocado halves snugly, so that when you pour in the eggs (whole or beaten) they won’t all run out. Put your avos in, balancing them snugly and levelly, add some of your toppings if you like, then fill the cavities with egg. Add more toppings if you want. Bake at 425° for 20-30 minutes. 

THAT’S IT.

snug halved avocados

toppings started – this is minced sweet pepper


cheddar to go with hickory bacon, cotija to go with chorizo


tiny cubes of the meats added, with one meat-free


U

I’ve par-baked them tonight, added more cheese, and popped them in the fridge. In the morning, I’ll bake for just a few minutes, pack them up and go to work.When they’re served, I have minced herbs – cilantro and chives – and a bit of sour cream (ok, I cheat there too and use fat-free Greek yogurt) to add.
I’ll update this post after we decide on a verdict!

PS The floating “U” up there – I’ve tried selecting and deleting multiple times but this WordPress phone app isn’t letting me correct. The best I got was to change it to U from an I; when I successfully select it then tap the backspace, it just jumps and adds another blank line. It kills me to leave it, so ugly there, but it is what it is.